Triple Stacked Braid Tutorial


Bubble Braid Tutorial Featuring Nicole Kim!


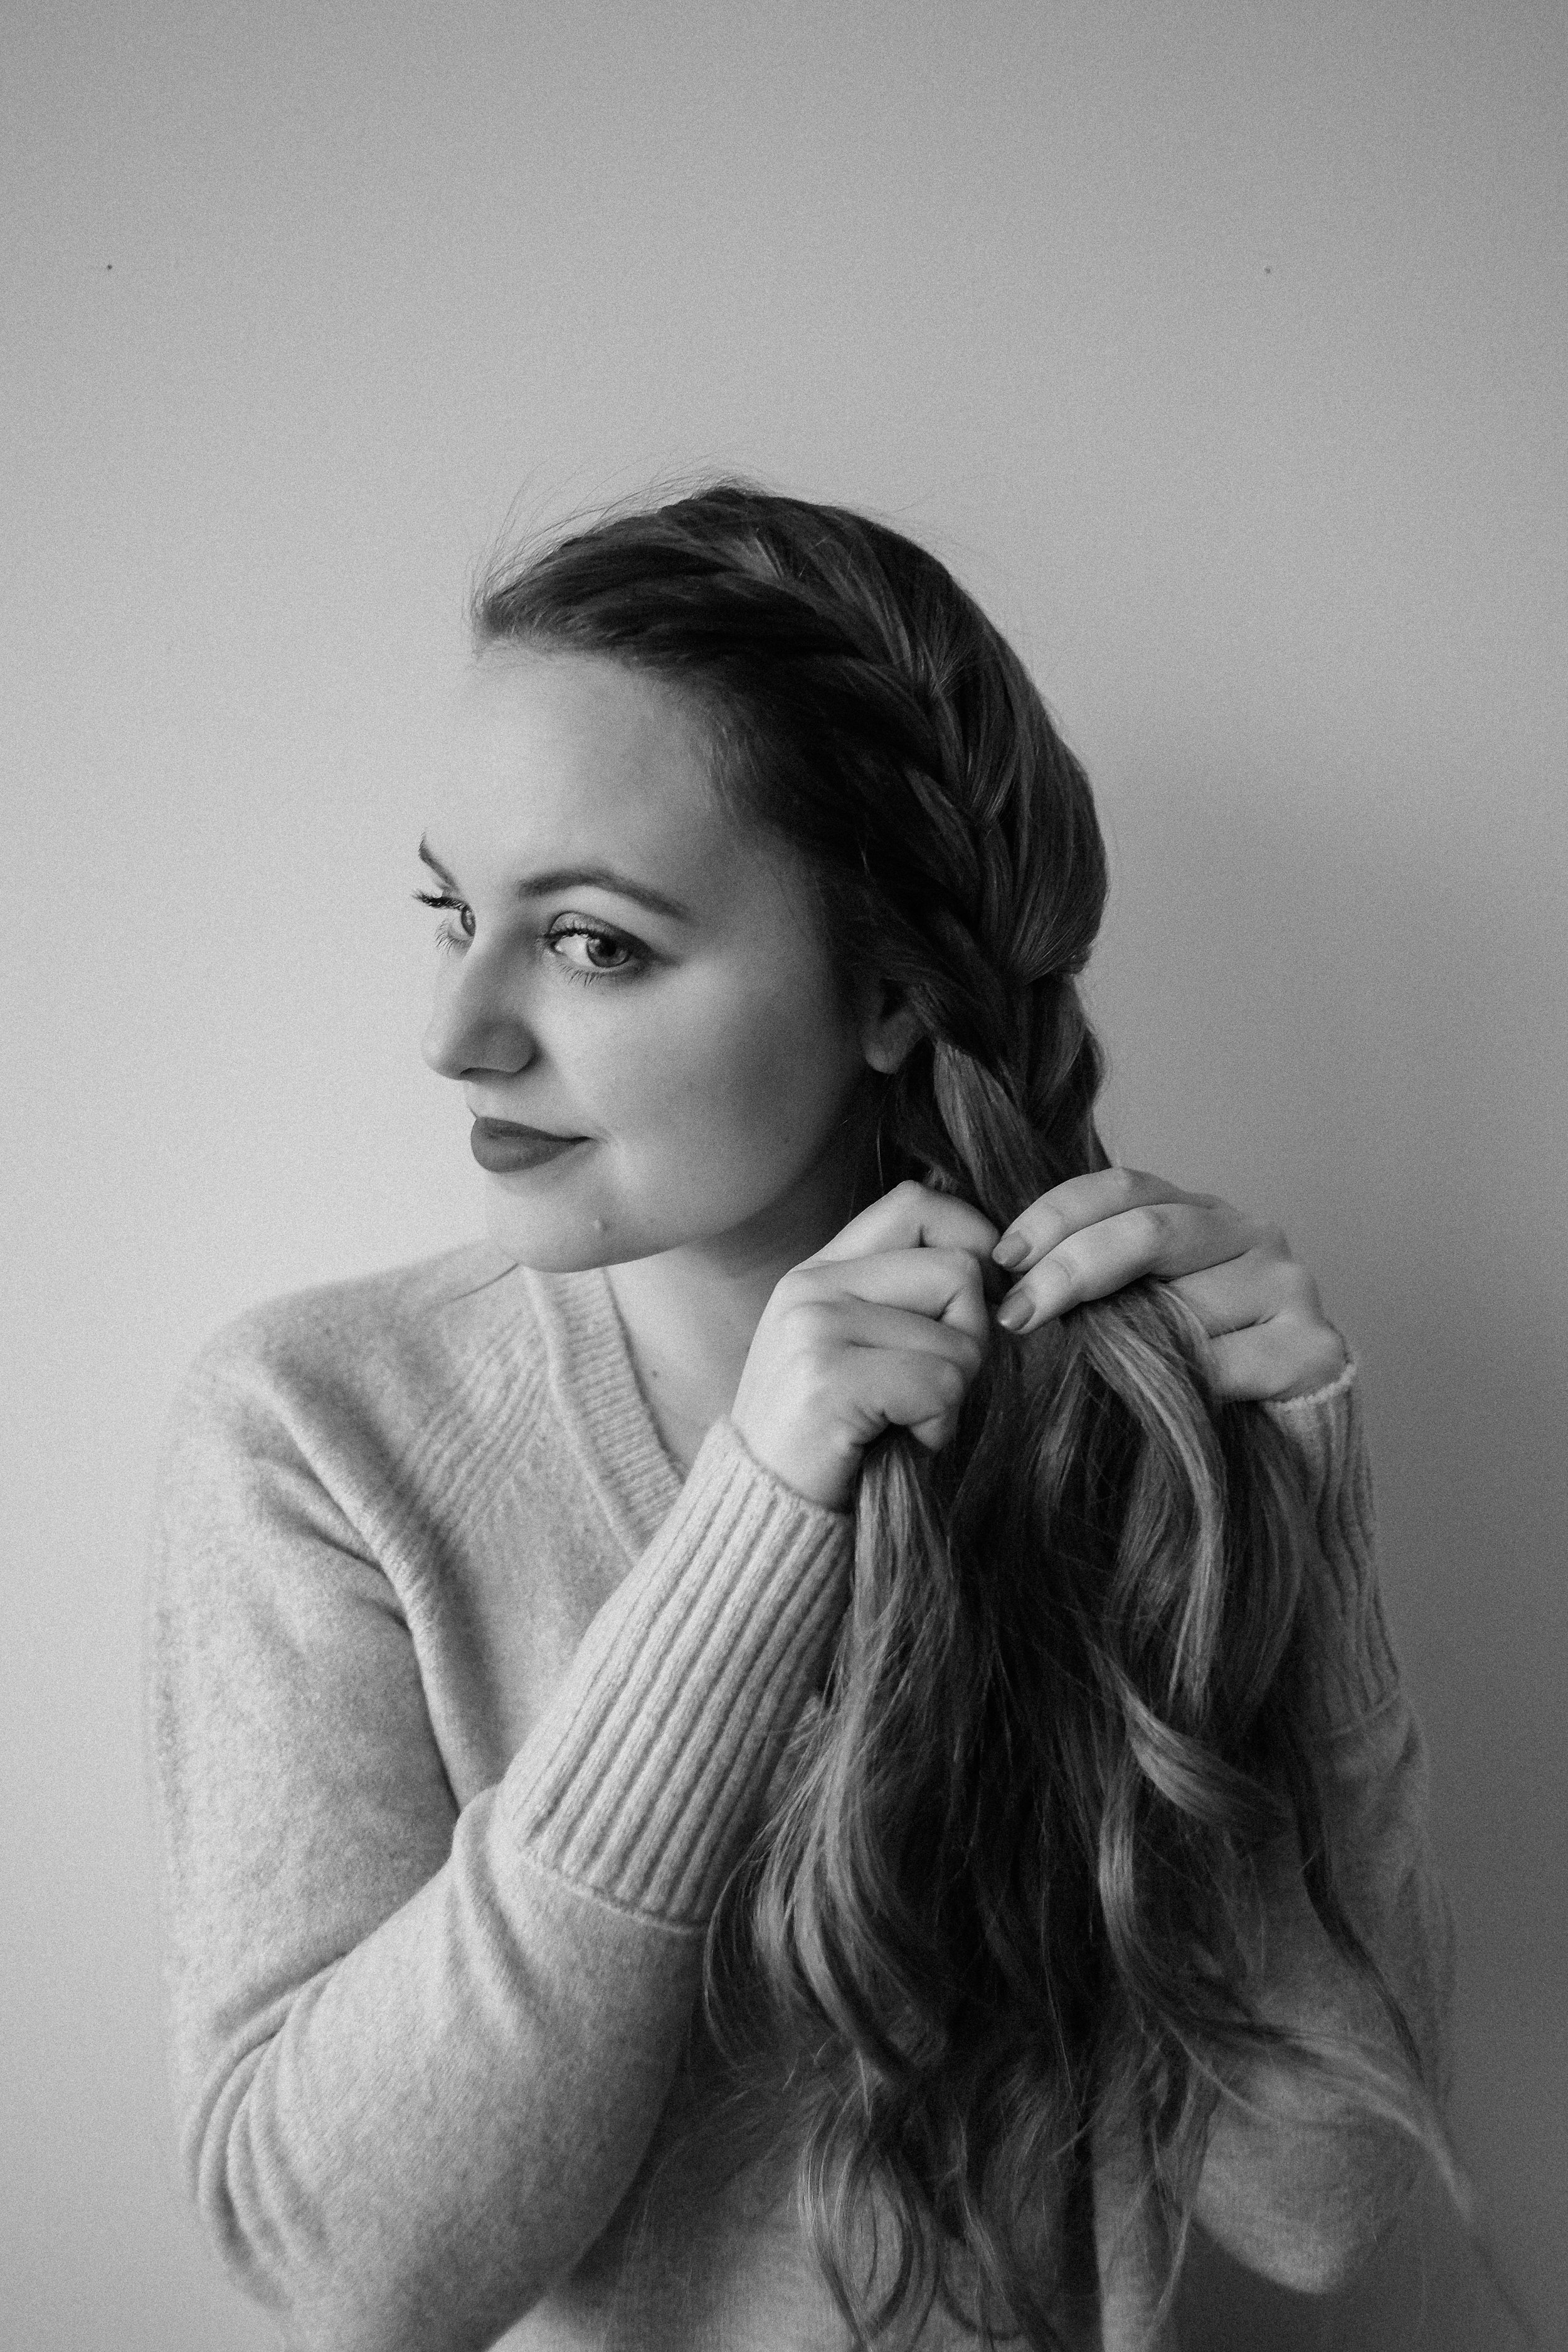
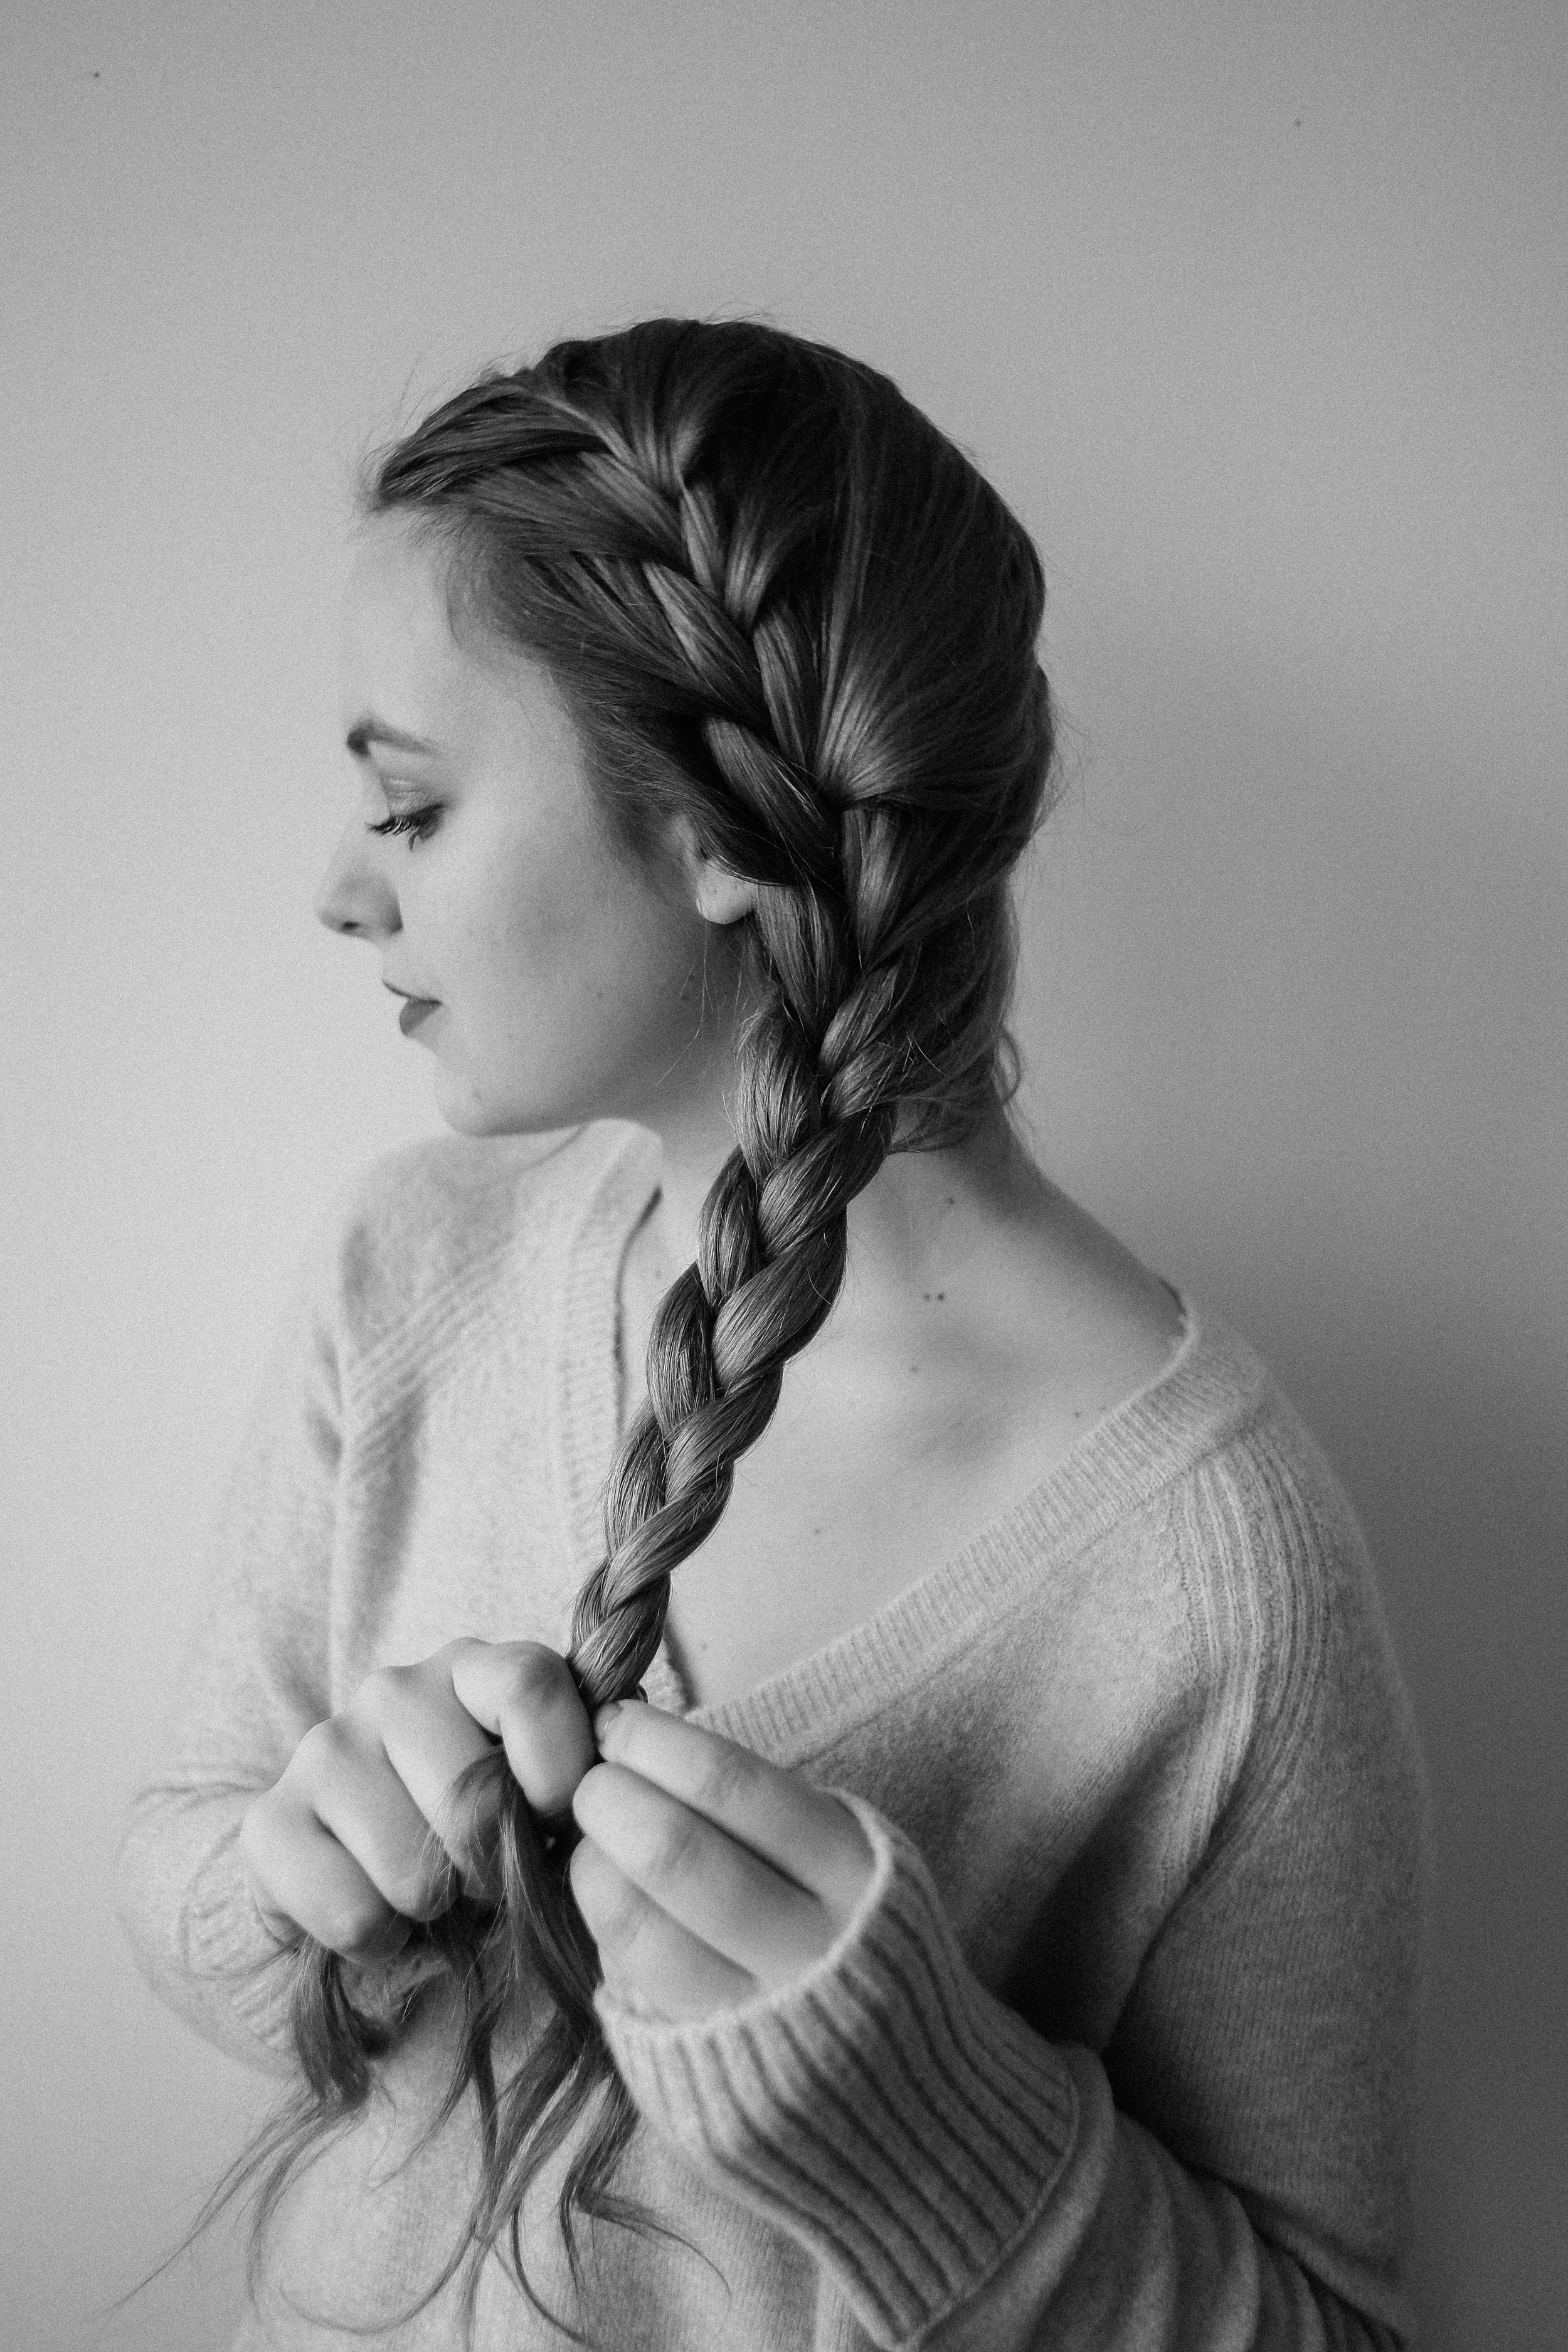
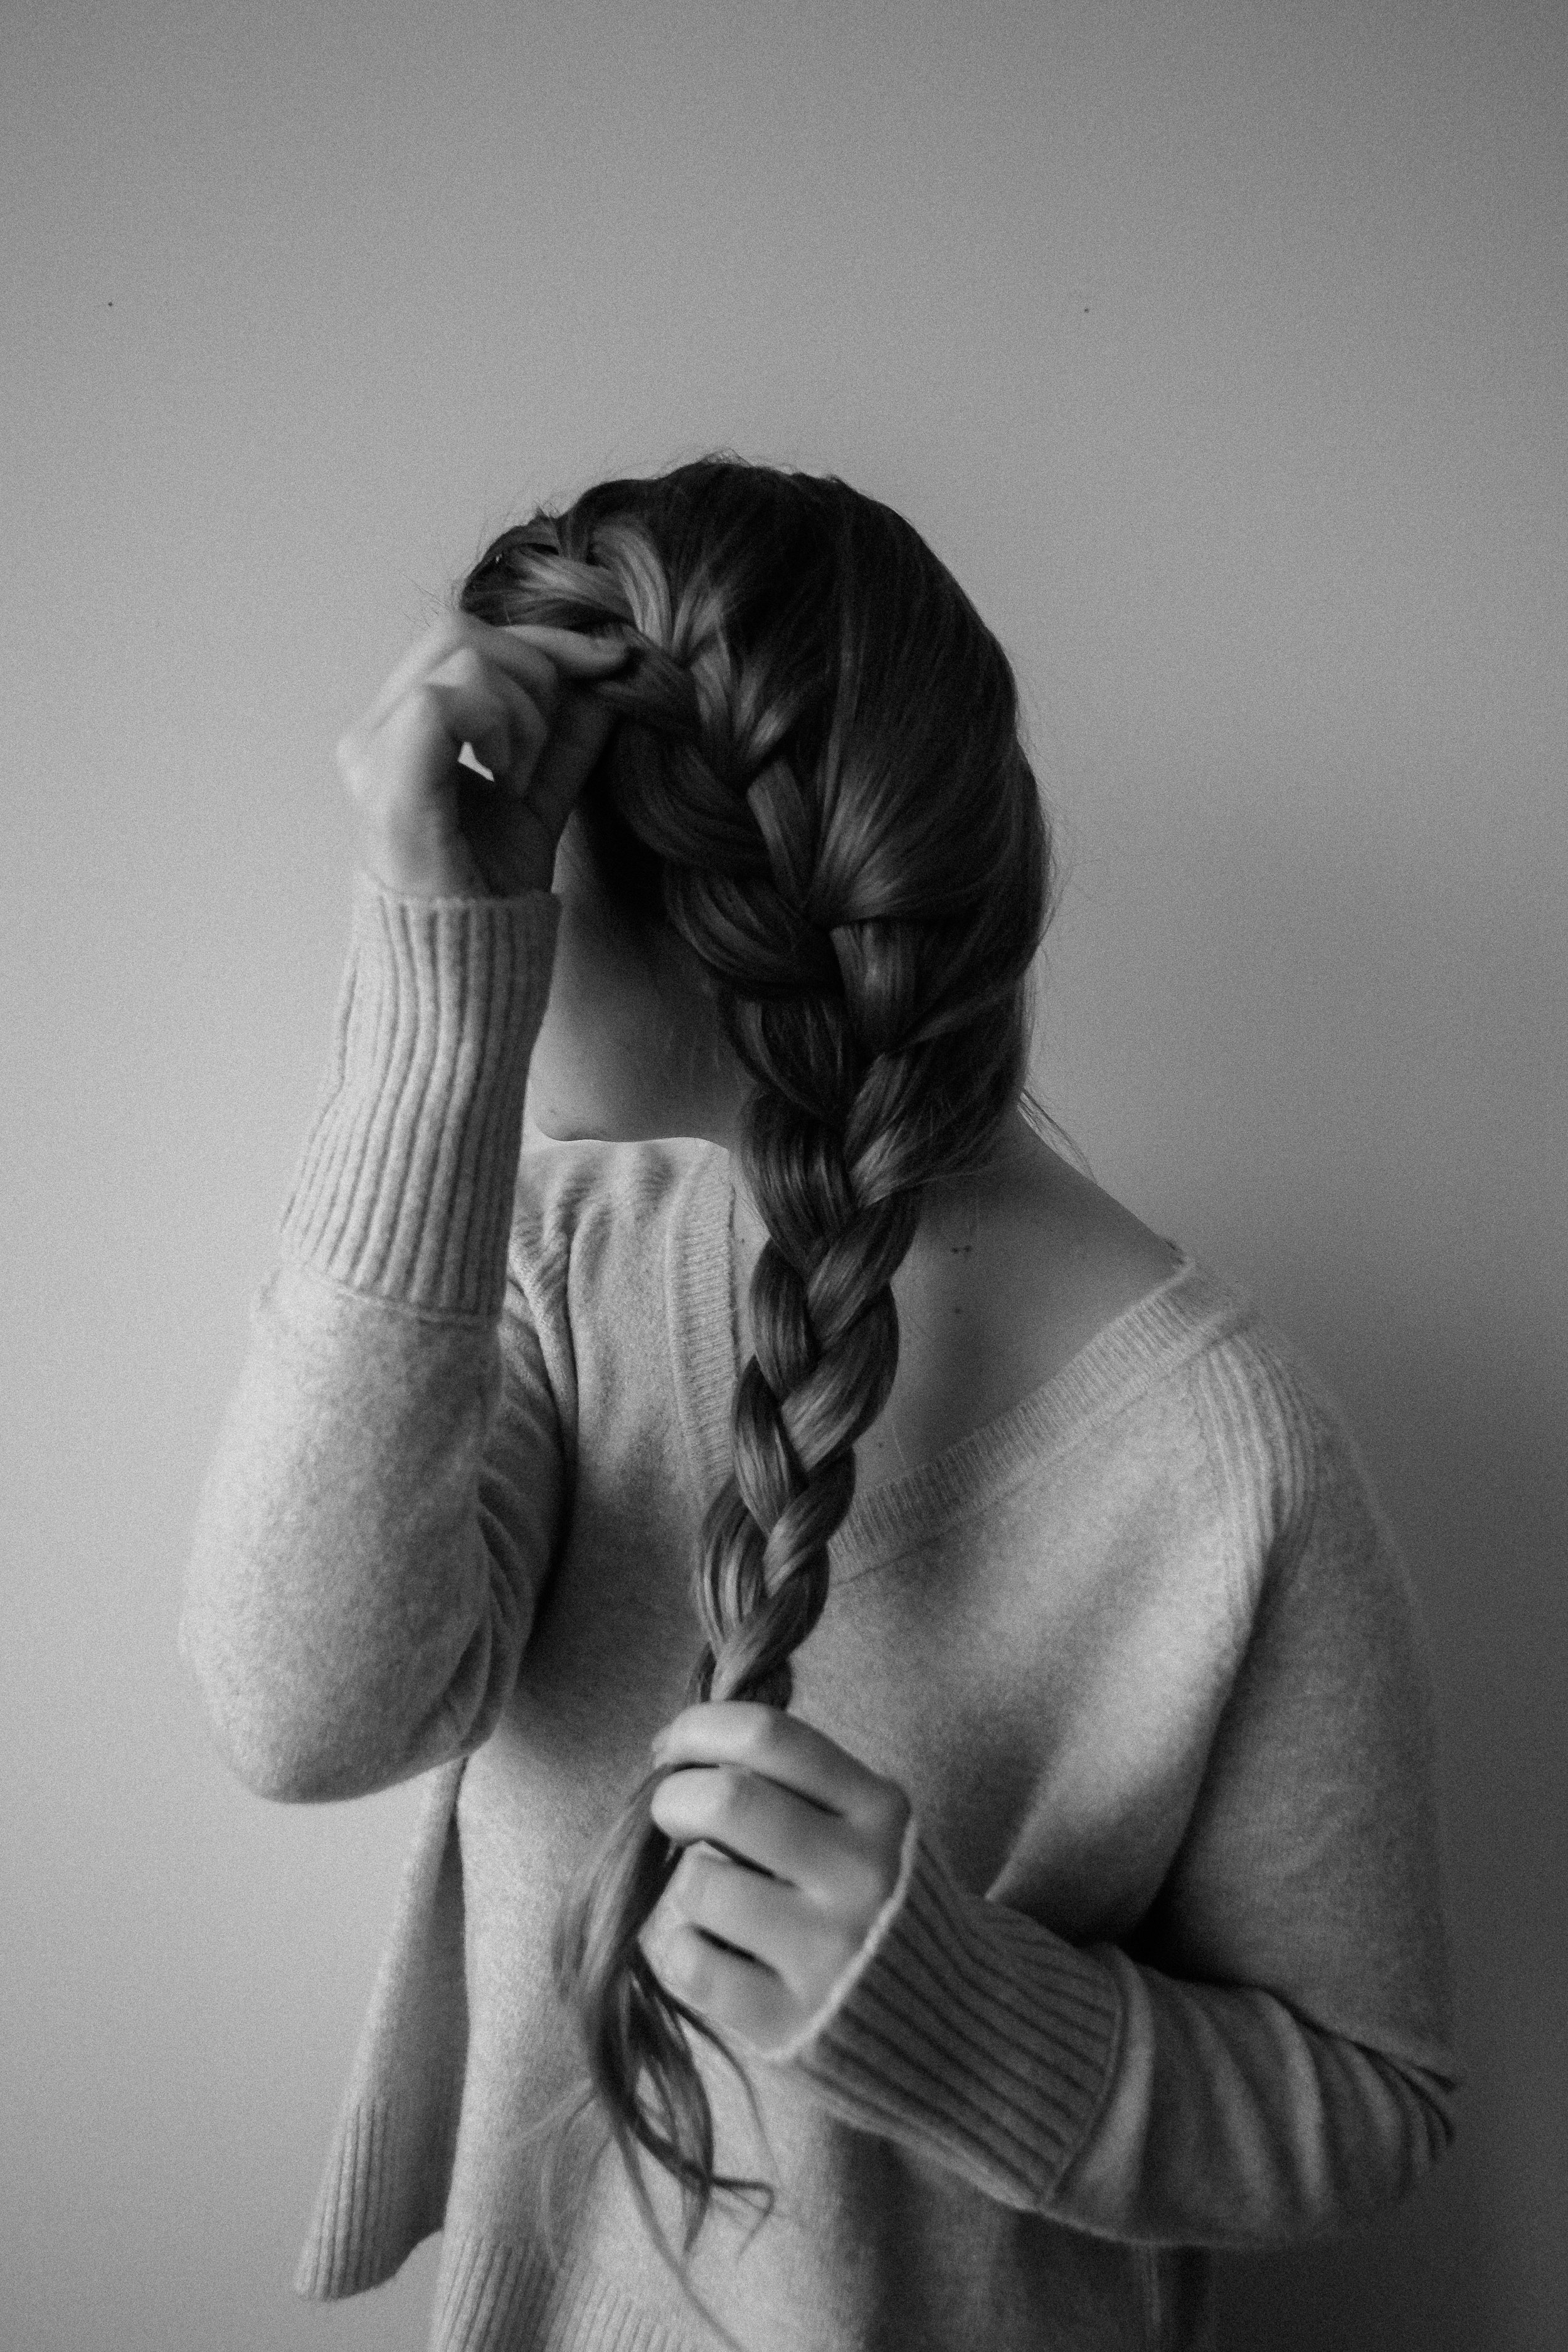
Braided Fishtail Crown
Braided Crown
- Brush your hair out! Be sure to get all those tangles. I always use my Wet Brush.
- Part it! Part your hair down the middle. Split it into two chunks, and bring all your hair to the front.
- Braid it! Create a fishtail braid on each side and secure them with a small clear elastic. Make sure you braid it tight so it’ll still hold when you pull it apart.
- Pull it apart! Using your thumb, middle, and index finger, tug upwards on the strands of the braids. This will give the illusion that your hair is super thick.
- Secure it! Wrap braids up & over and secure them with bobby pins. Make sure you pin the ends in otherwise your clear elastics will be exposed!
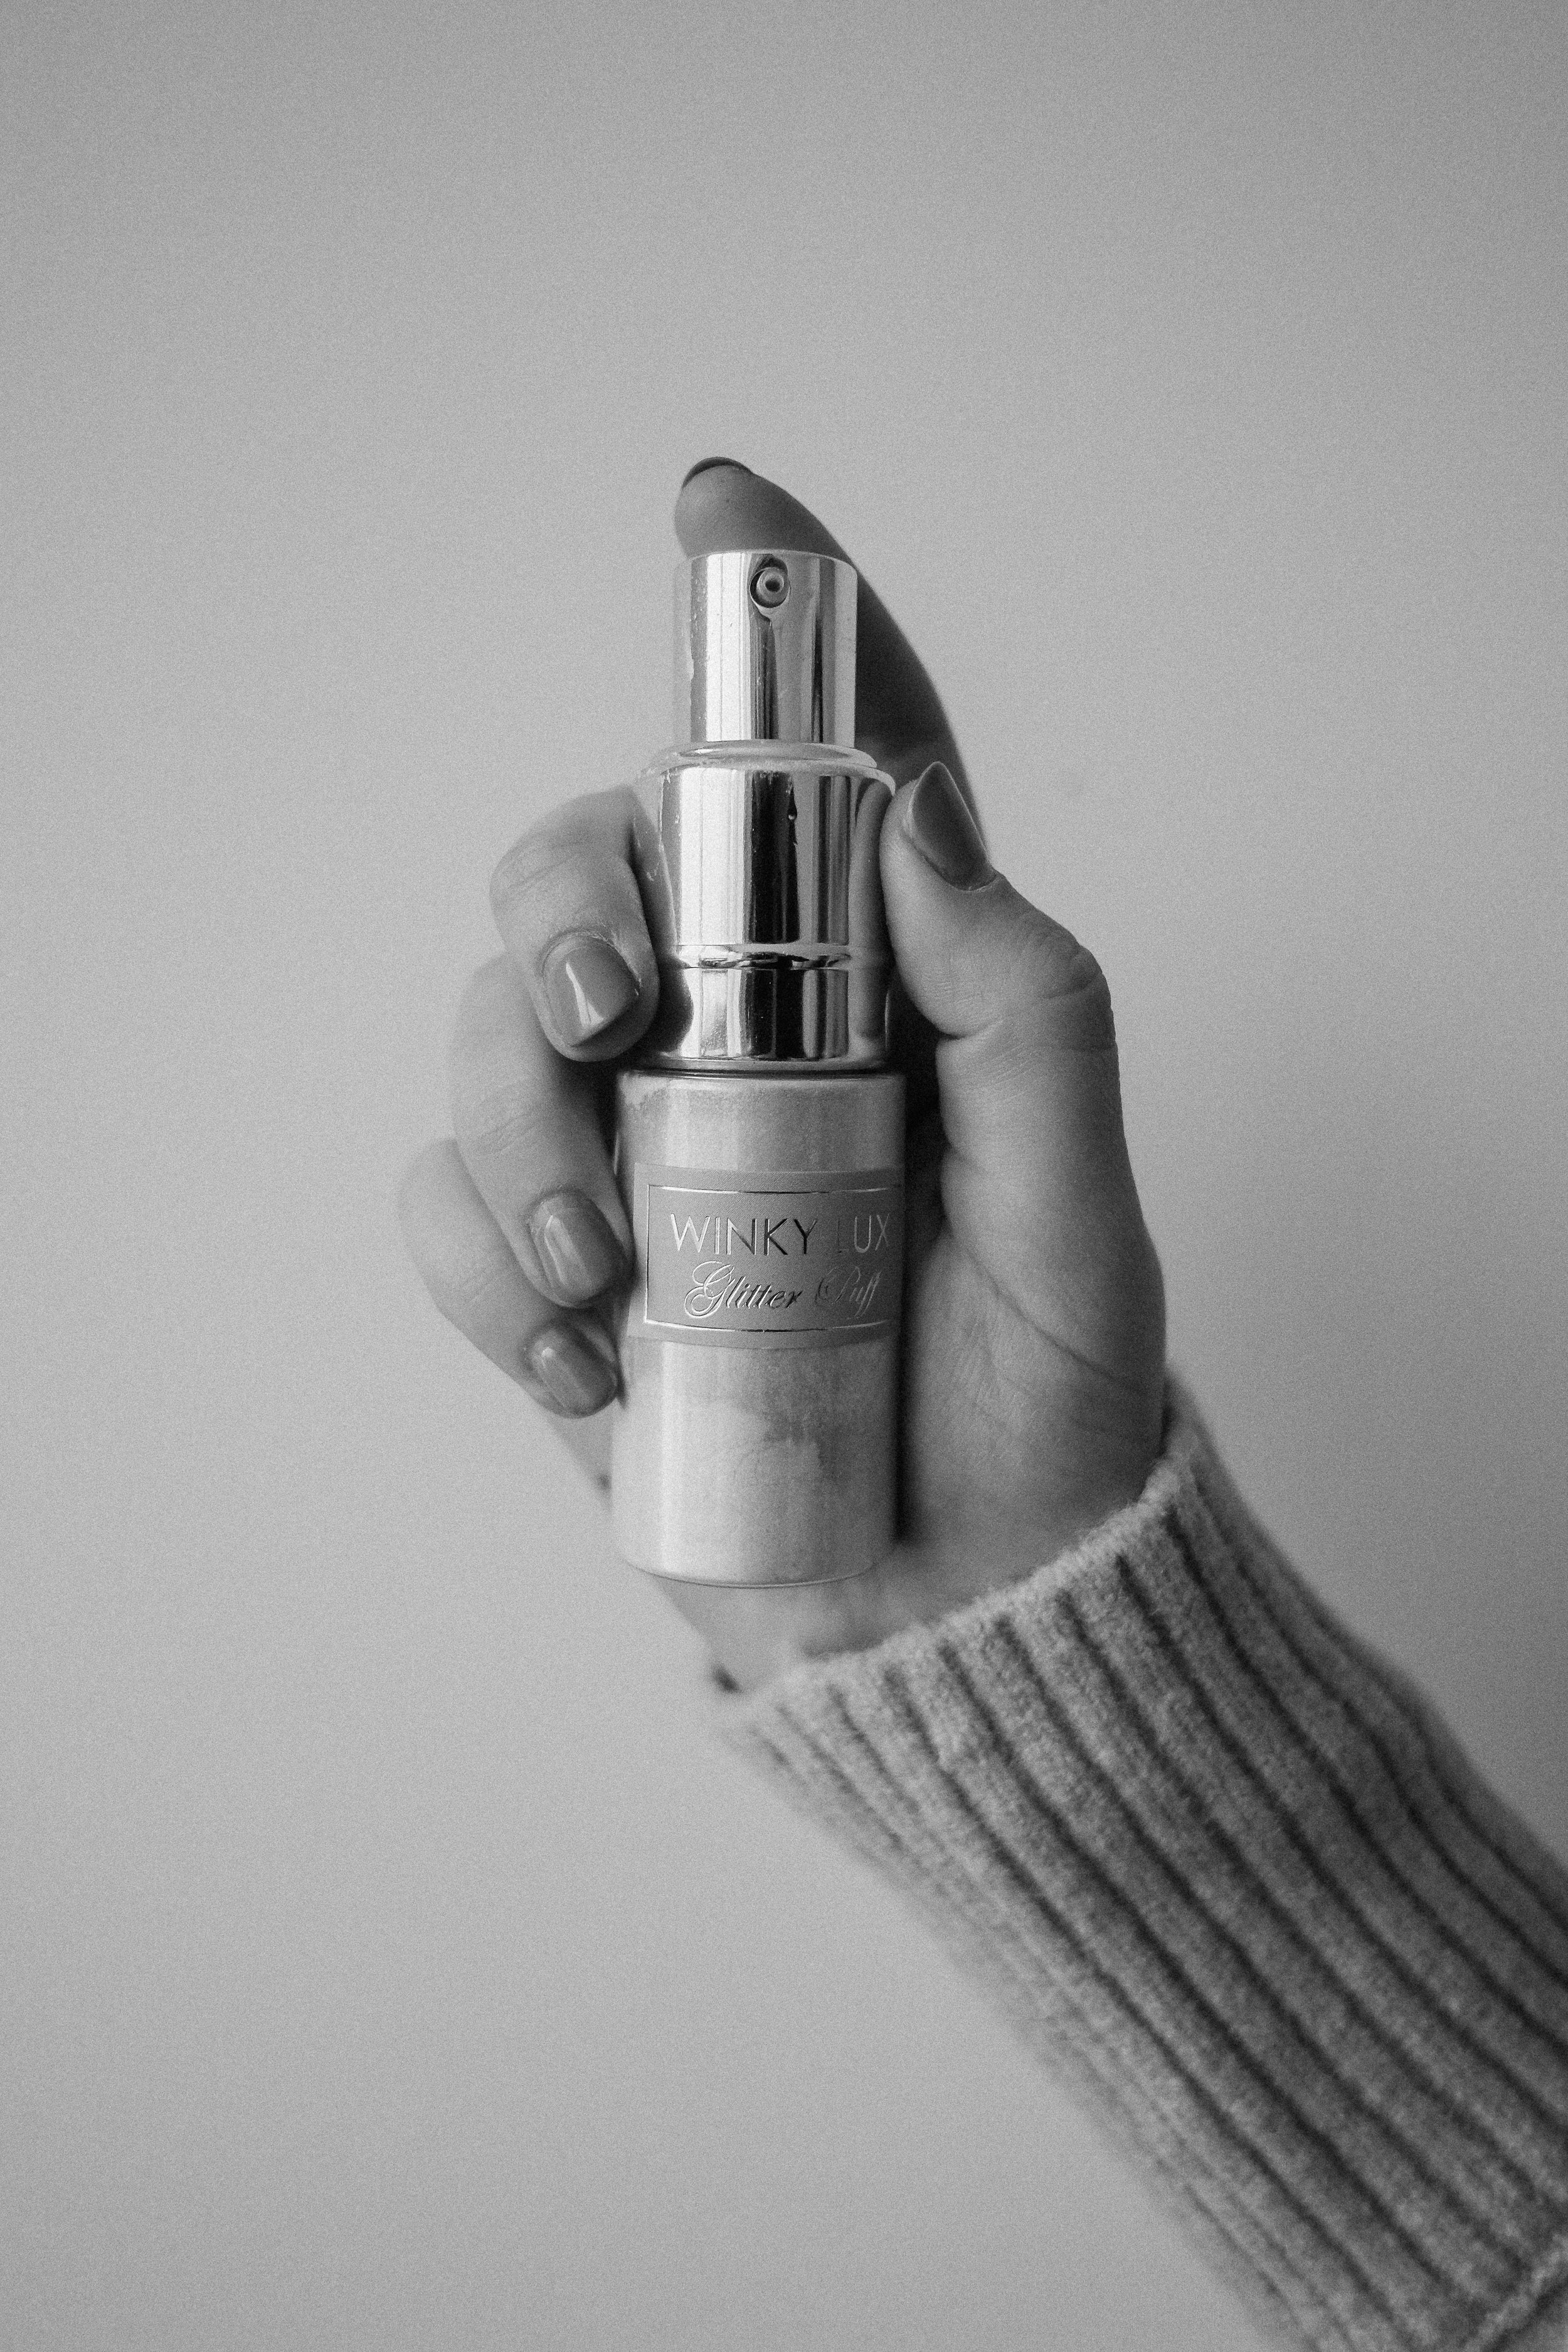
- Glitter Puff! Spray a bit of Winky Lux’s Glitter Puff all over that braided crown!


Half & Half


Space Bunz
Space Buns
- Brush your hair out! Be sure to get all those tangles. I always use my Wet Brush.
- Part it! Part your hair down the middle. Trust me, do it! And
- Split it! Split your hair into to chunks.
- Bun it! Grab one of the chunks and pull it up into a high ponytail. Repeat on the other side. For a tighter hold, this hairspray by Oribe is the bomb )
- Glitter Puff! Dust some of Winky Lux’s Glitter Puff into your part for some extra shimmer.


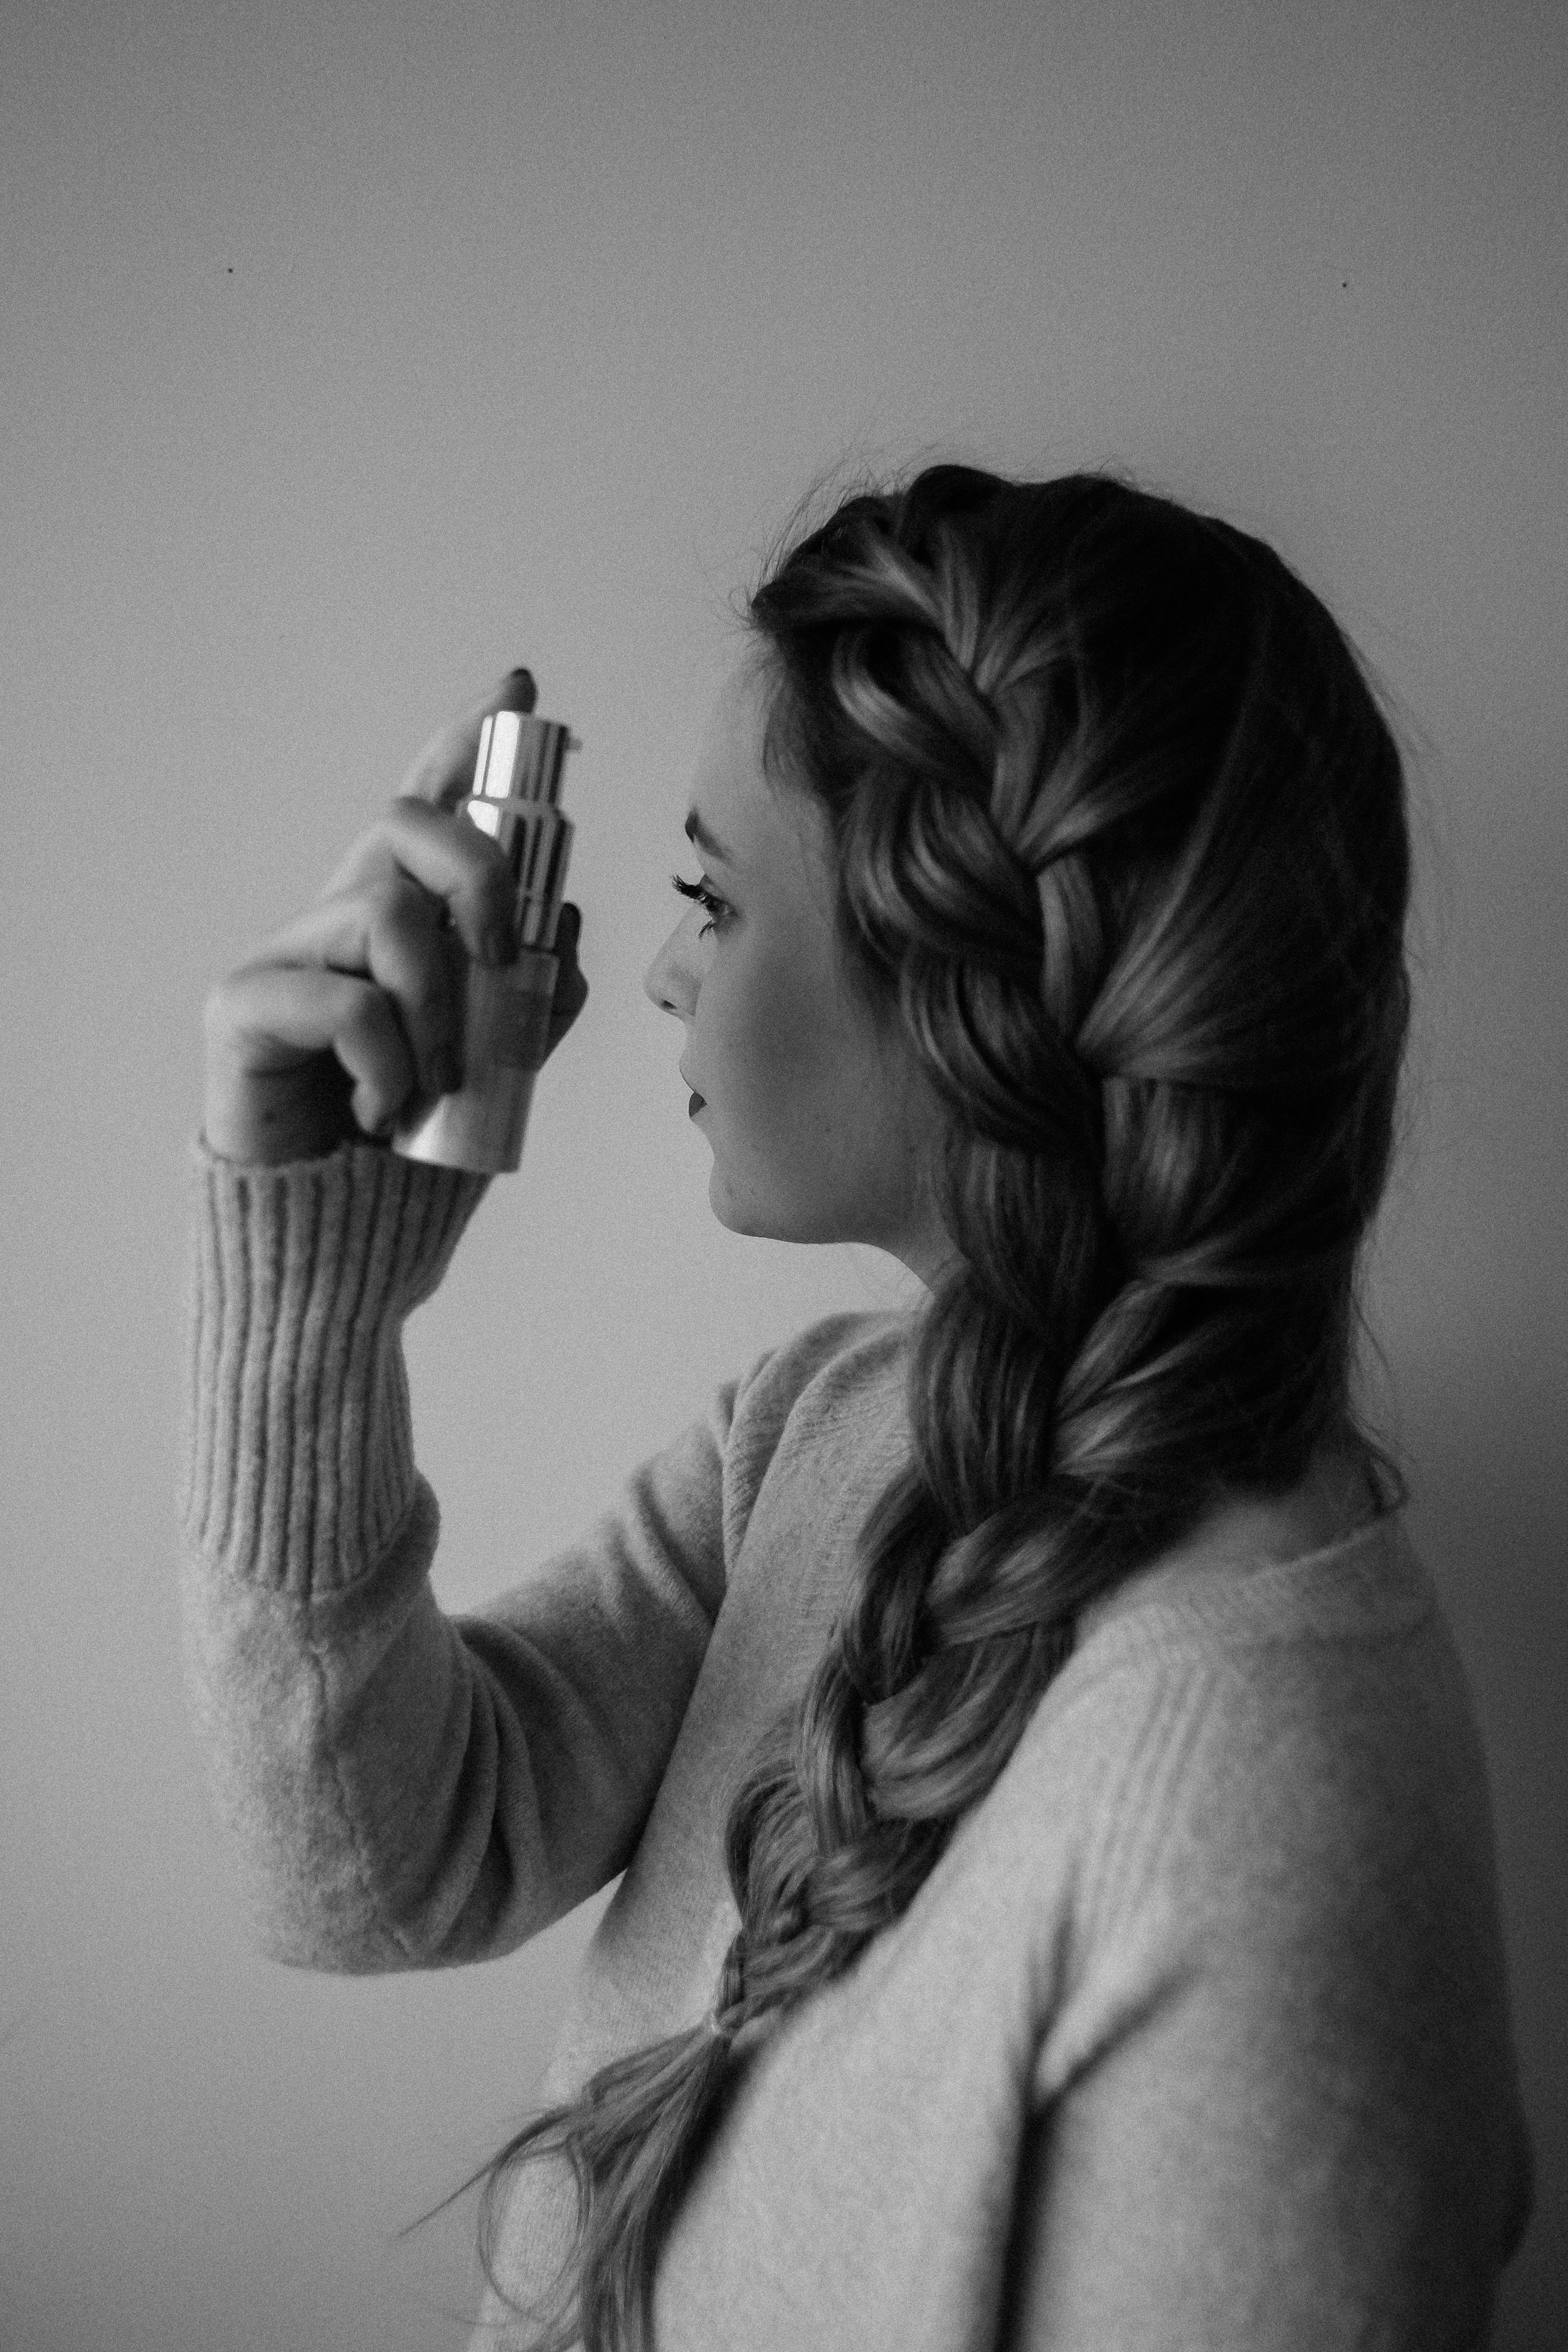
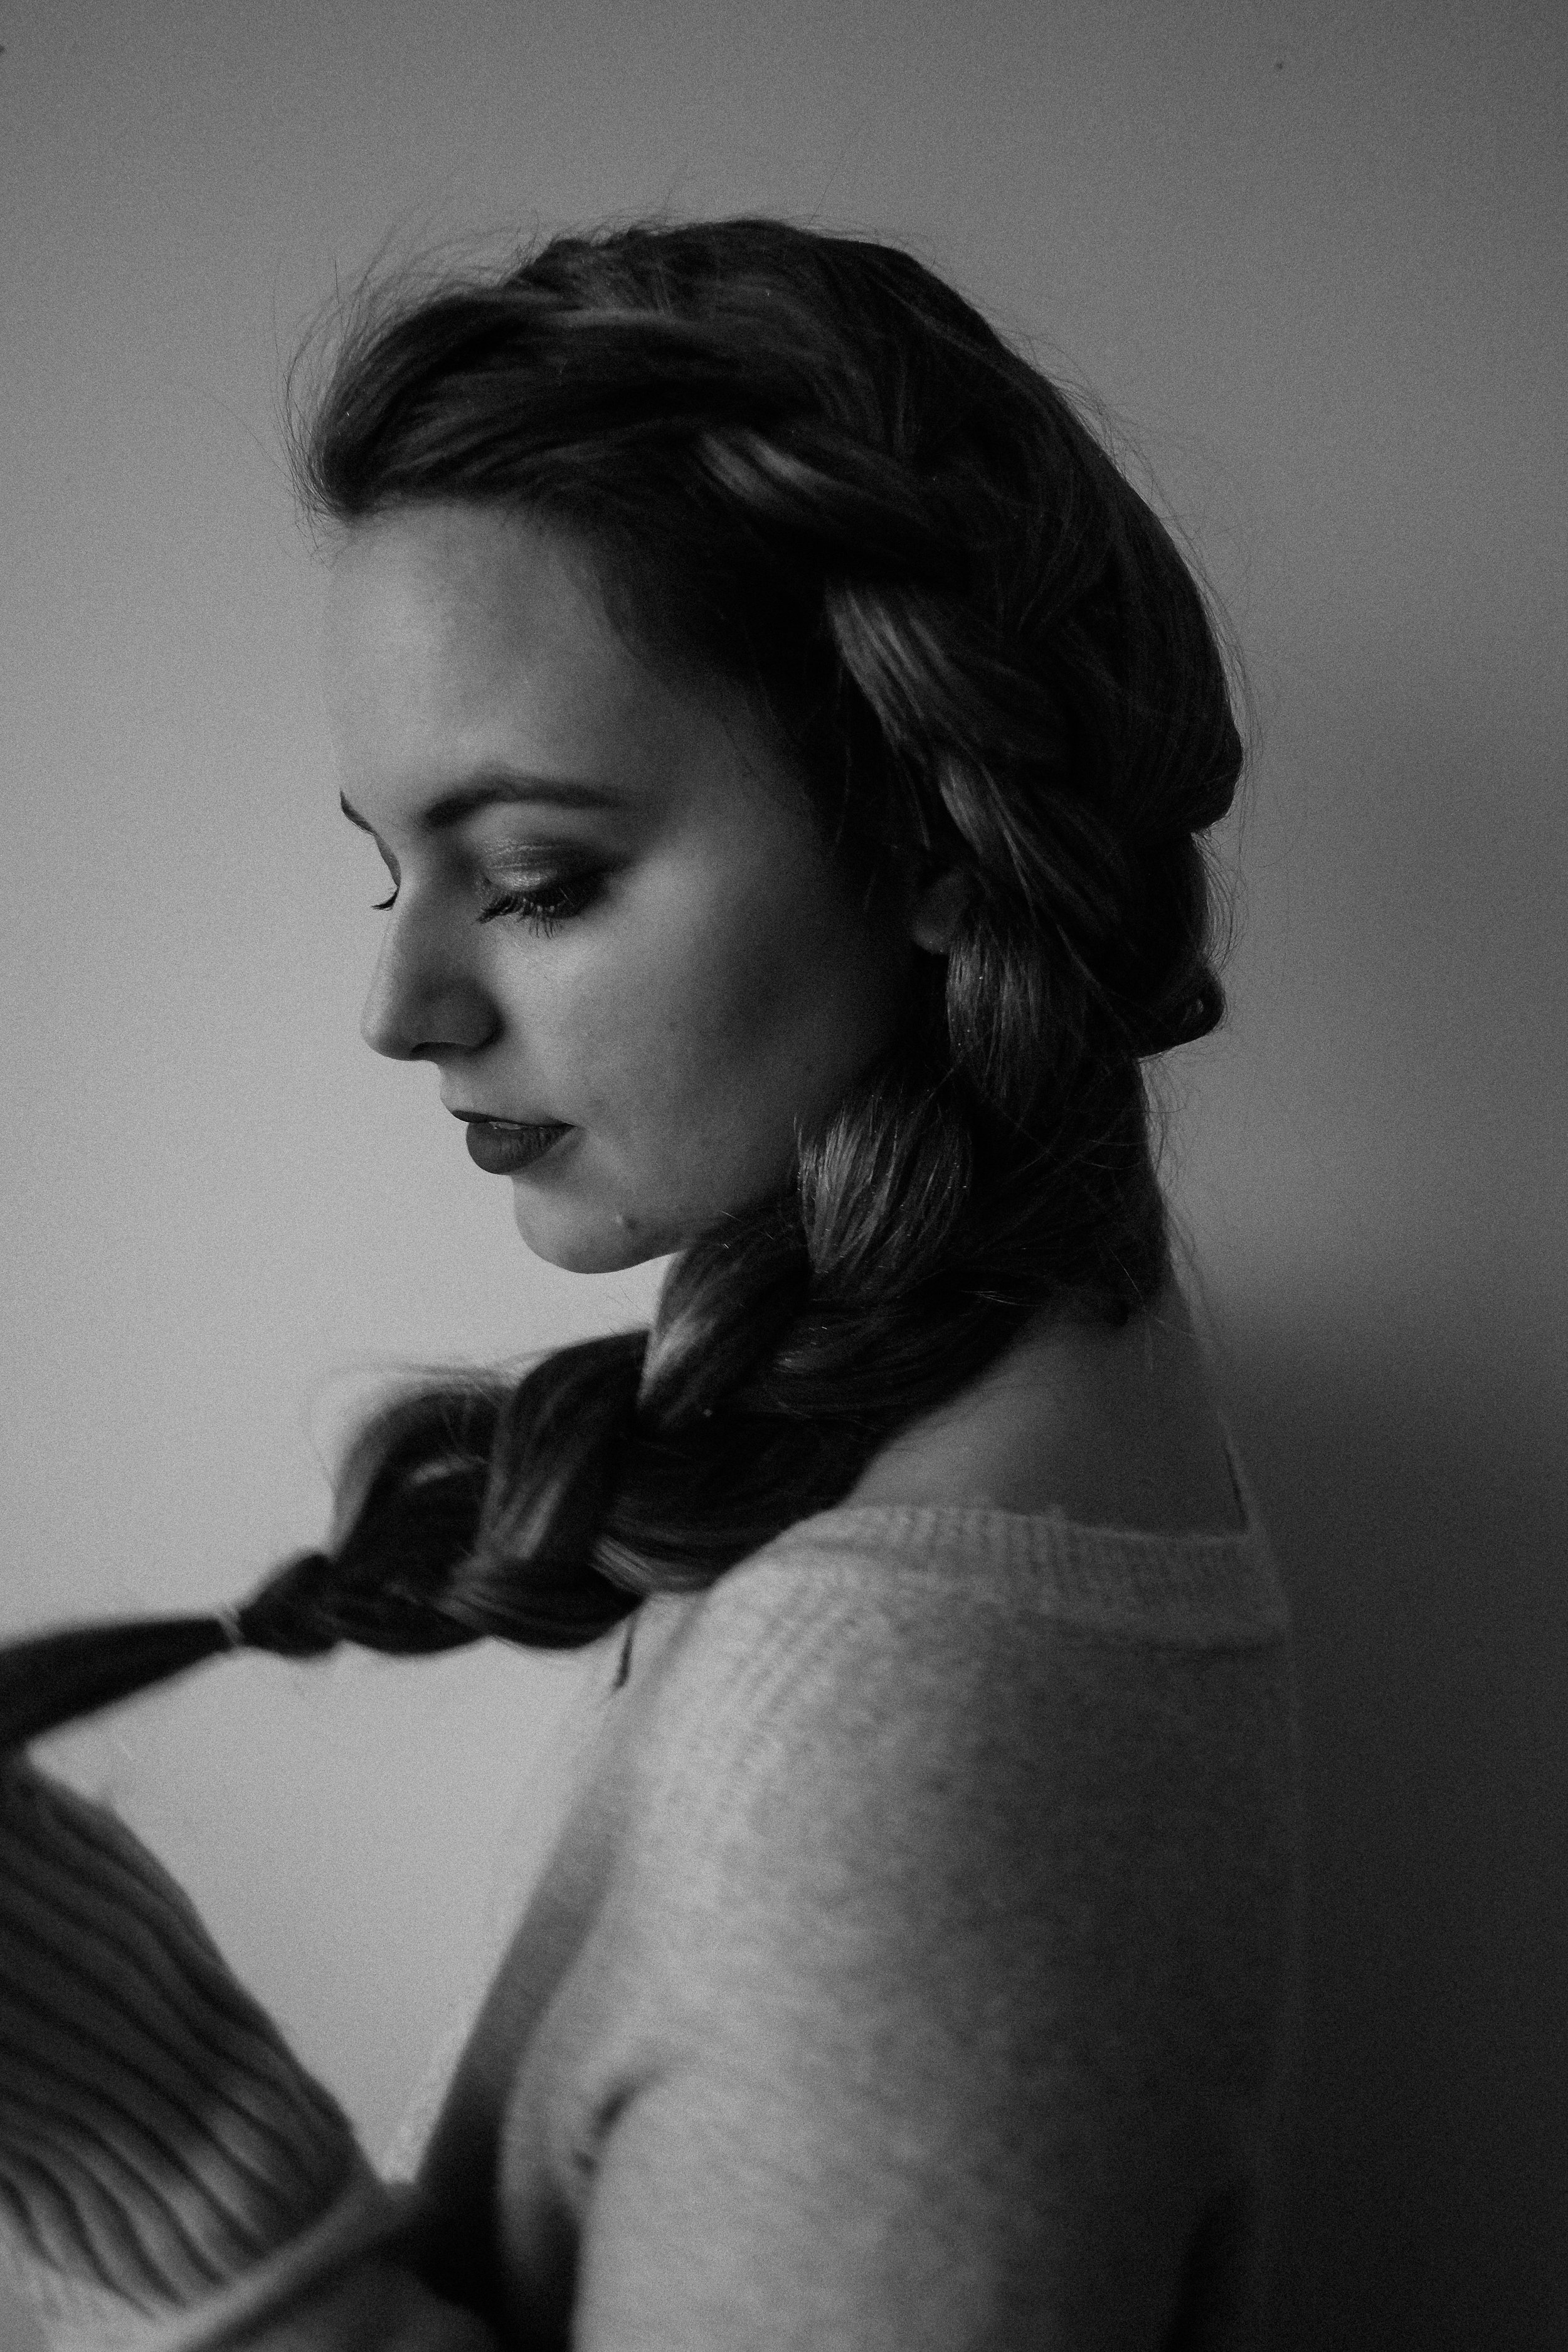

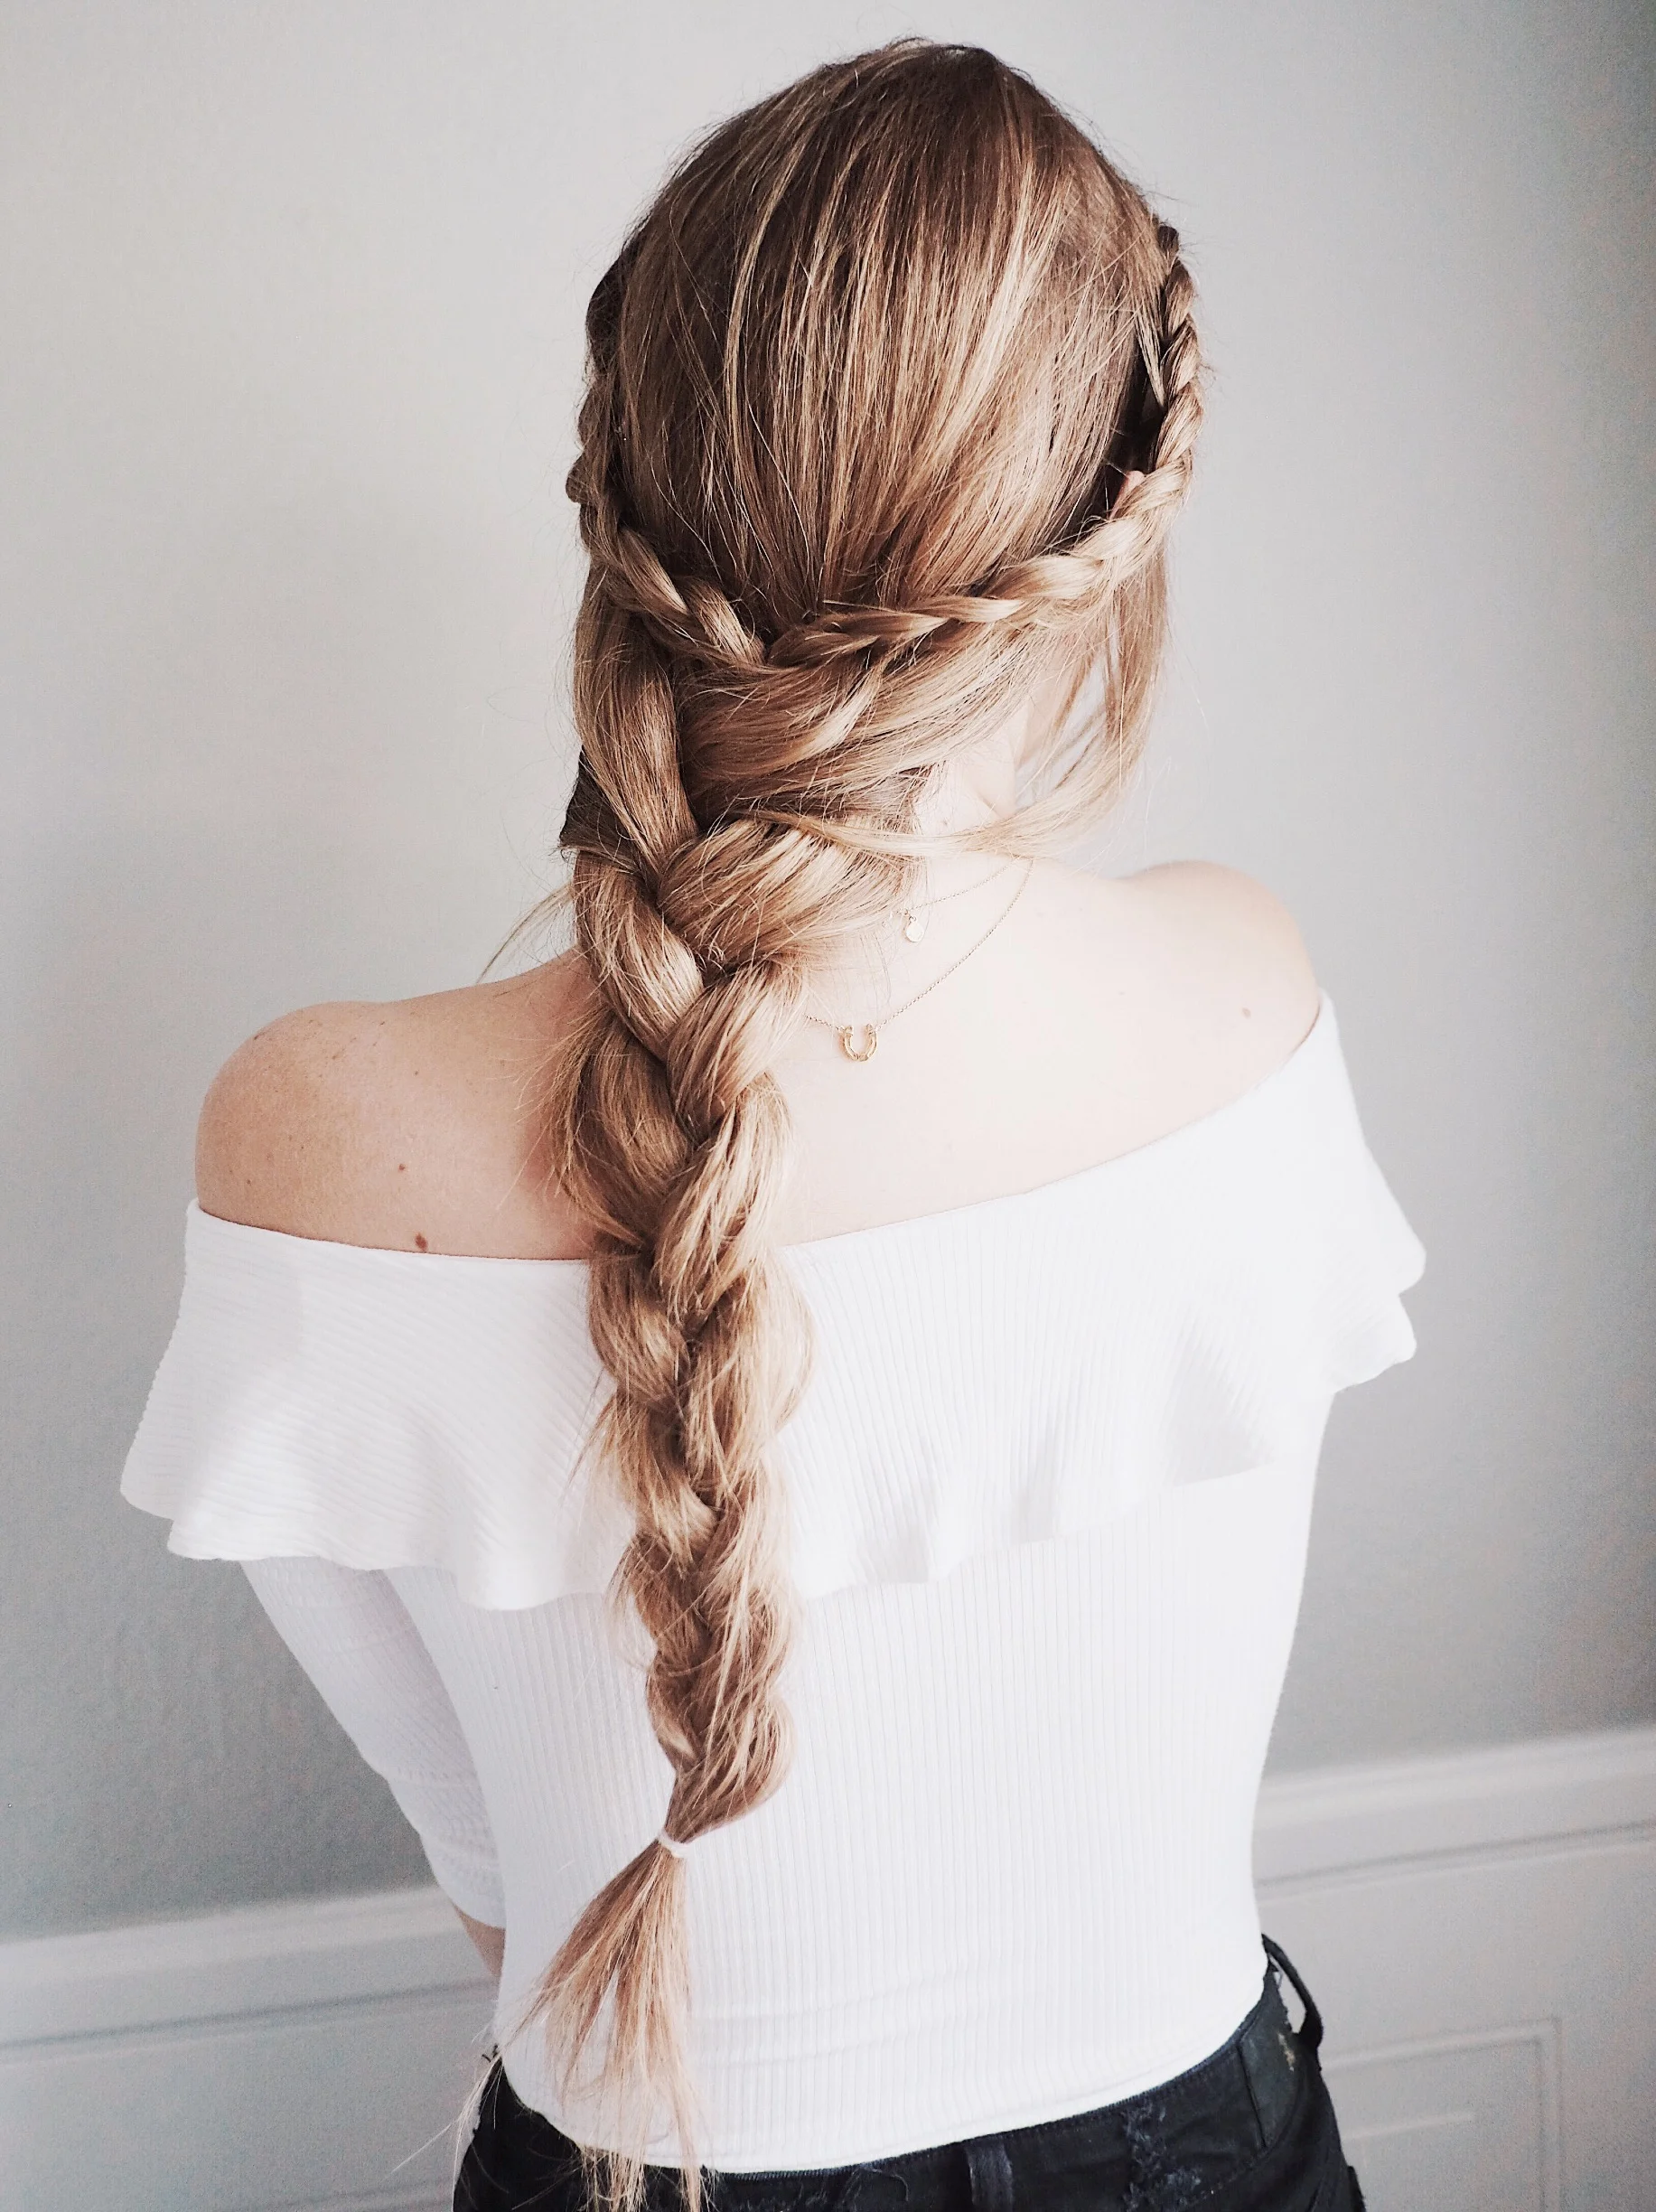
Romantic Side French Braid
Chunky Side French Braid
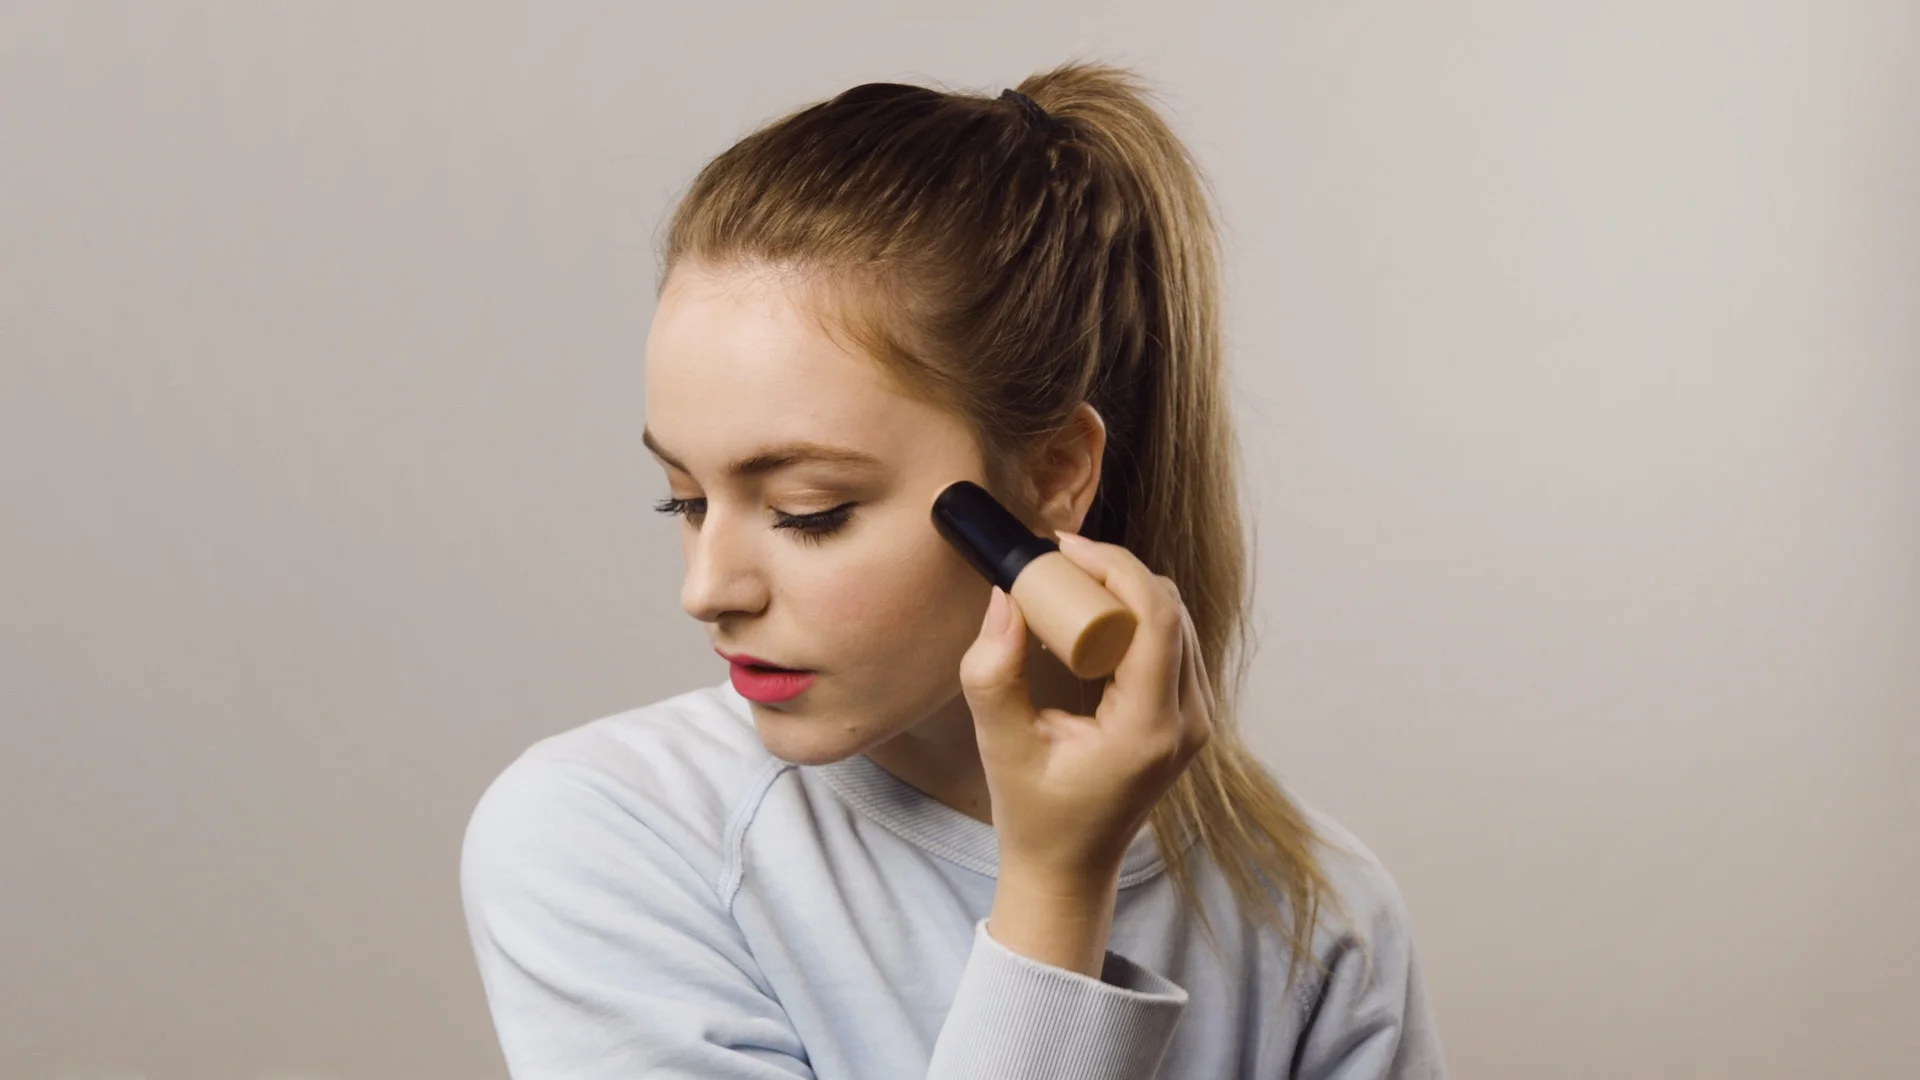
Brush your hair out! Be sure to get all those tangles. I always use my Wet Brush.
Part it! Part your hair to the side. I usually do a pretty deep part so most of my hair is on one side. Spray a but of Eva Hair NYC's texture spray and your ready!
Let’s do it. Take a small chunk of hair near your part towards your hairline. Crossing UNDER (remember, we’re French not Dutch) begin a normal french braid. Incorporating more hair as you work your way down.
Pull it apart! This is where your braid upgrades from average to flawless. Using your thumb, middle, and index fingers begin to pull on the loops of your braid. For the loops near your part, pull from the inside. Don’t pull too much or you’ll no longer have a braid!
Glitter Puff! Spritz some of Winky Lux’s Glitter Puff into the loops for the ultimate braid.


Valentines Day Hair
Happy (almost) Valentines Day!
I decided to create this super fun braided hair style to celebrate. If you decide to try this style on you or someone else PLEASE let me know & be sure to tag me in your photo :)
Here are the steps:
1. Brush out your hair! (I like to use my Wet Brush)
2. Make two small braids on both sides of your head.
3. Pull them apart! Make them look extra chunky.
4. Bring both braids to the back of your head and secure them together with a small clear elastic.
THIS IS WHERE IT GETS TRICKY
5. Take a small chunk of hair (do this on both sides) and loop it OVER the braid, and then pull it out under the braid to create a knot like look. Do this on both sides.
6. Connect the ends of the loops with a small clear elastic to create a heart shape!
I like to add some extra waves at the end with my Nume wand. It's a 25mm and perfect for beachy waves. If you don't own a wand you can also curl your hair with a flat iron. I use my t3micro single pass LUXE.
Usually before I start braiding I like to add some texture to my hair and after I add a lot of volume spray. I've linked everything that I use below :)
XO,
Megan
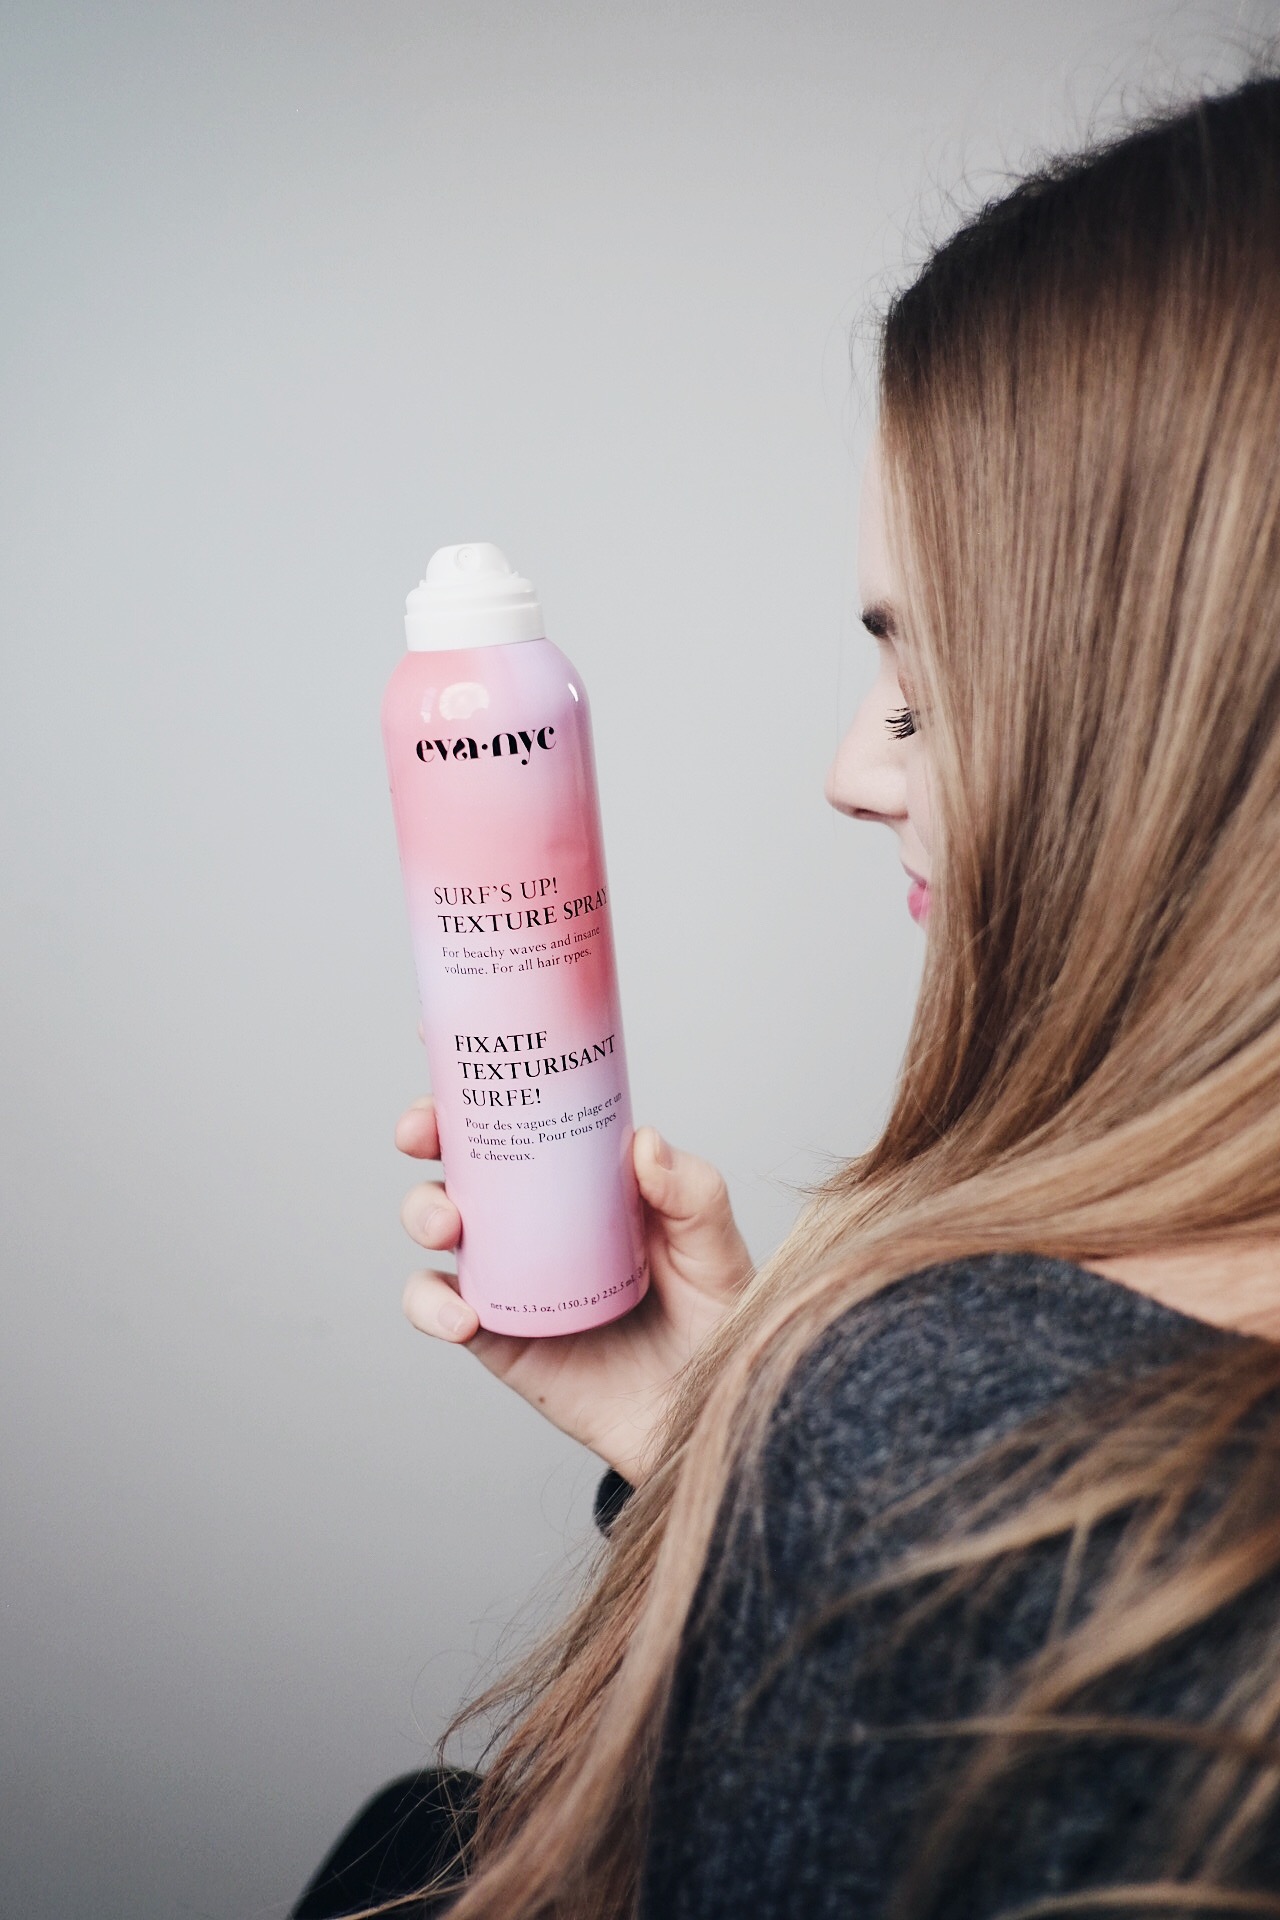


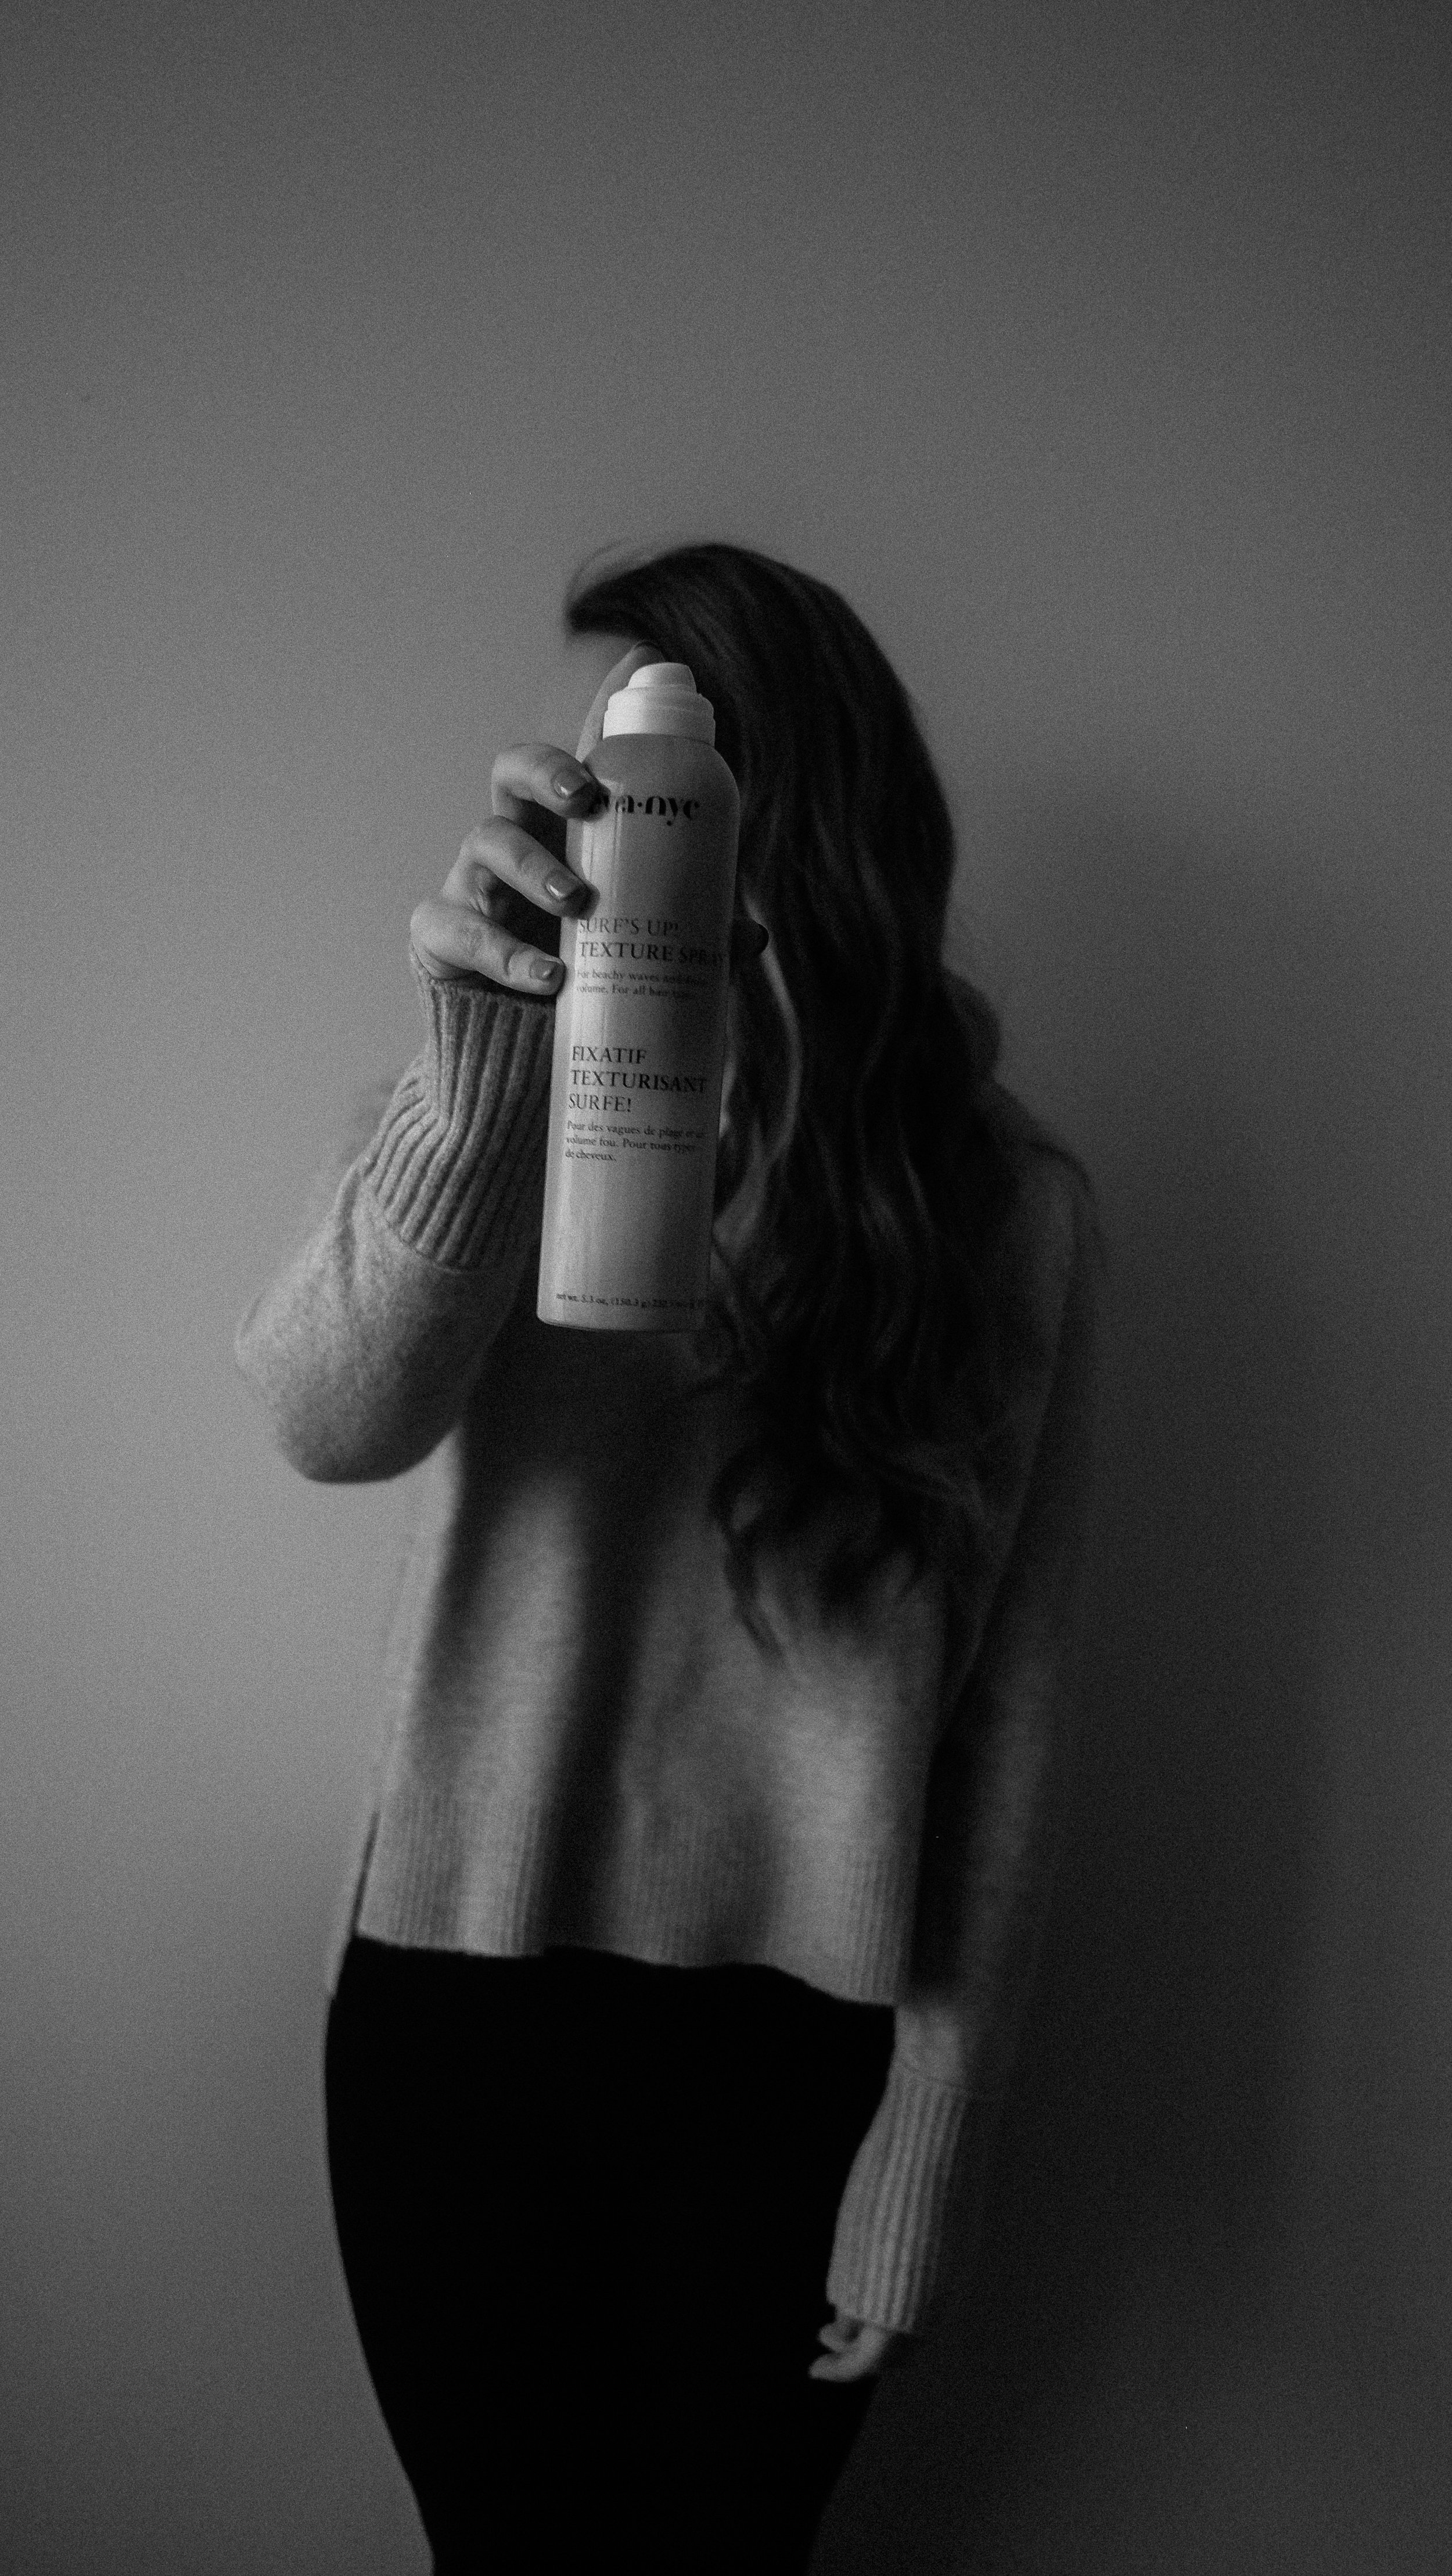
Textured Braid with Eva NYC
Helllloooo there :)
I created this tutorial because it's a style I wear at least once a week! It looks more complicated than it is so I hope this helps! I used my Barefoot Blonde hair extensions to create this look, but it can be done with medium length hair as well! I like to wear this on 3rd day hair because I pulls it out of my face while holding it all in place.
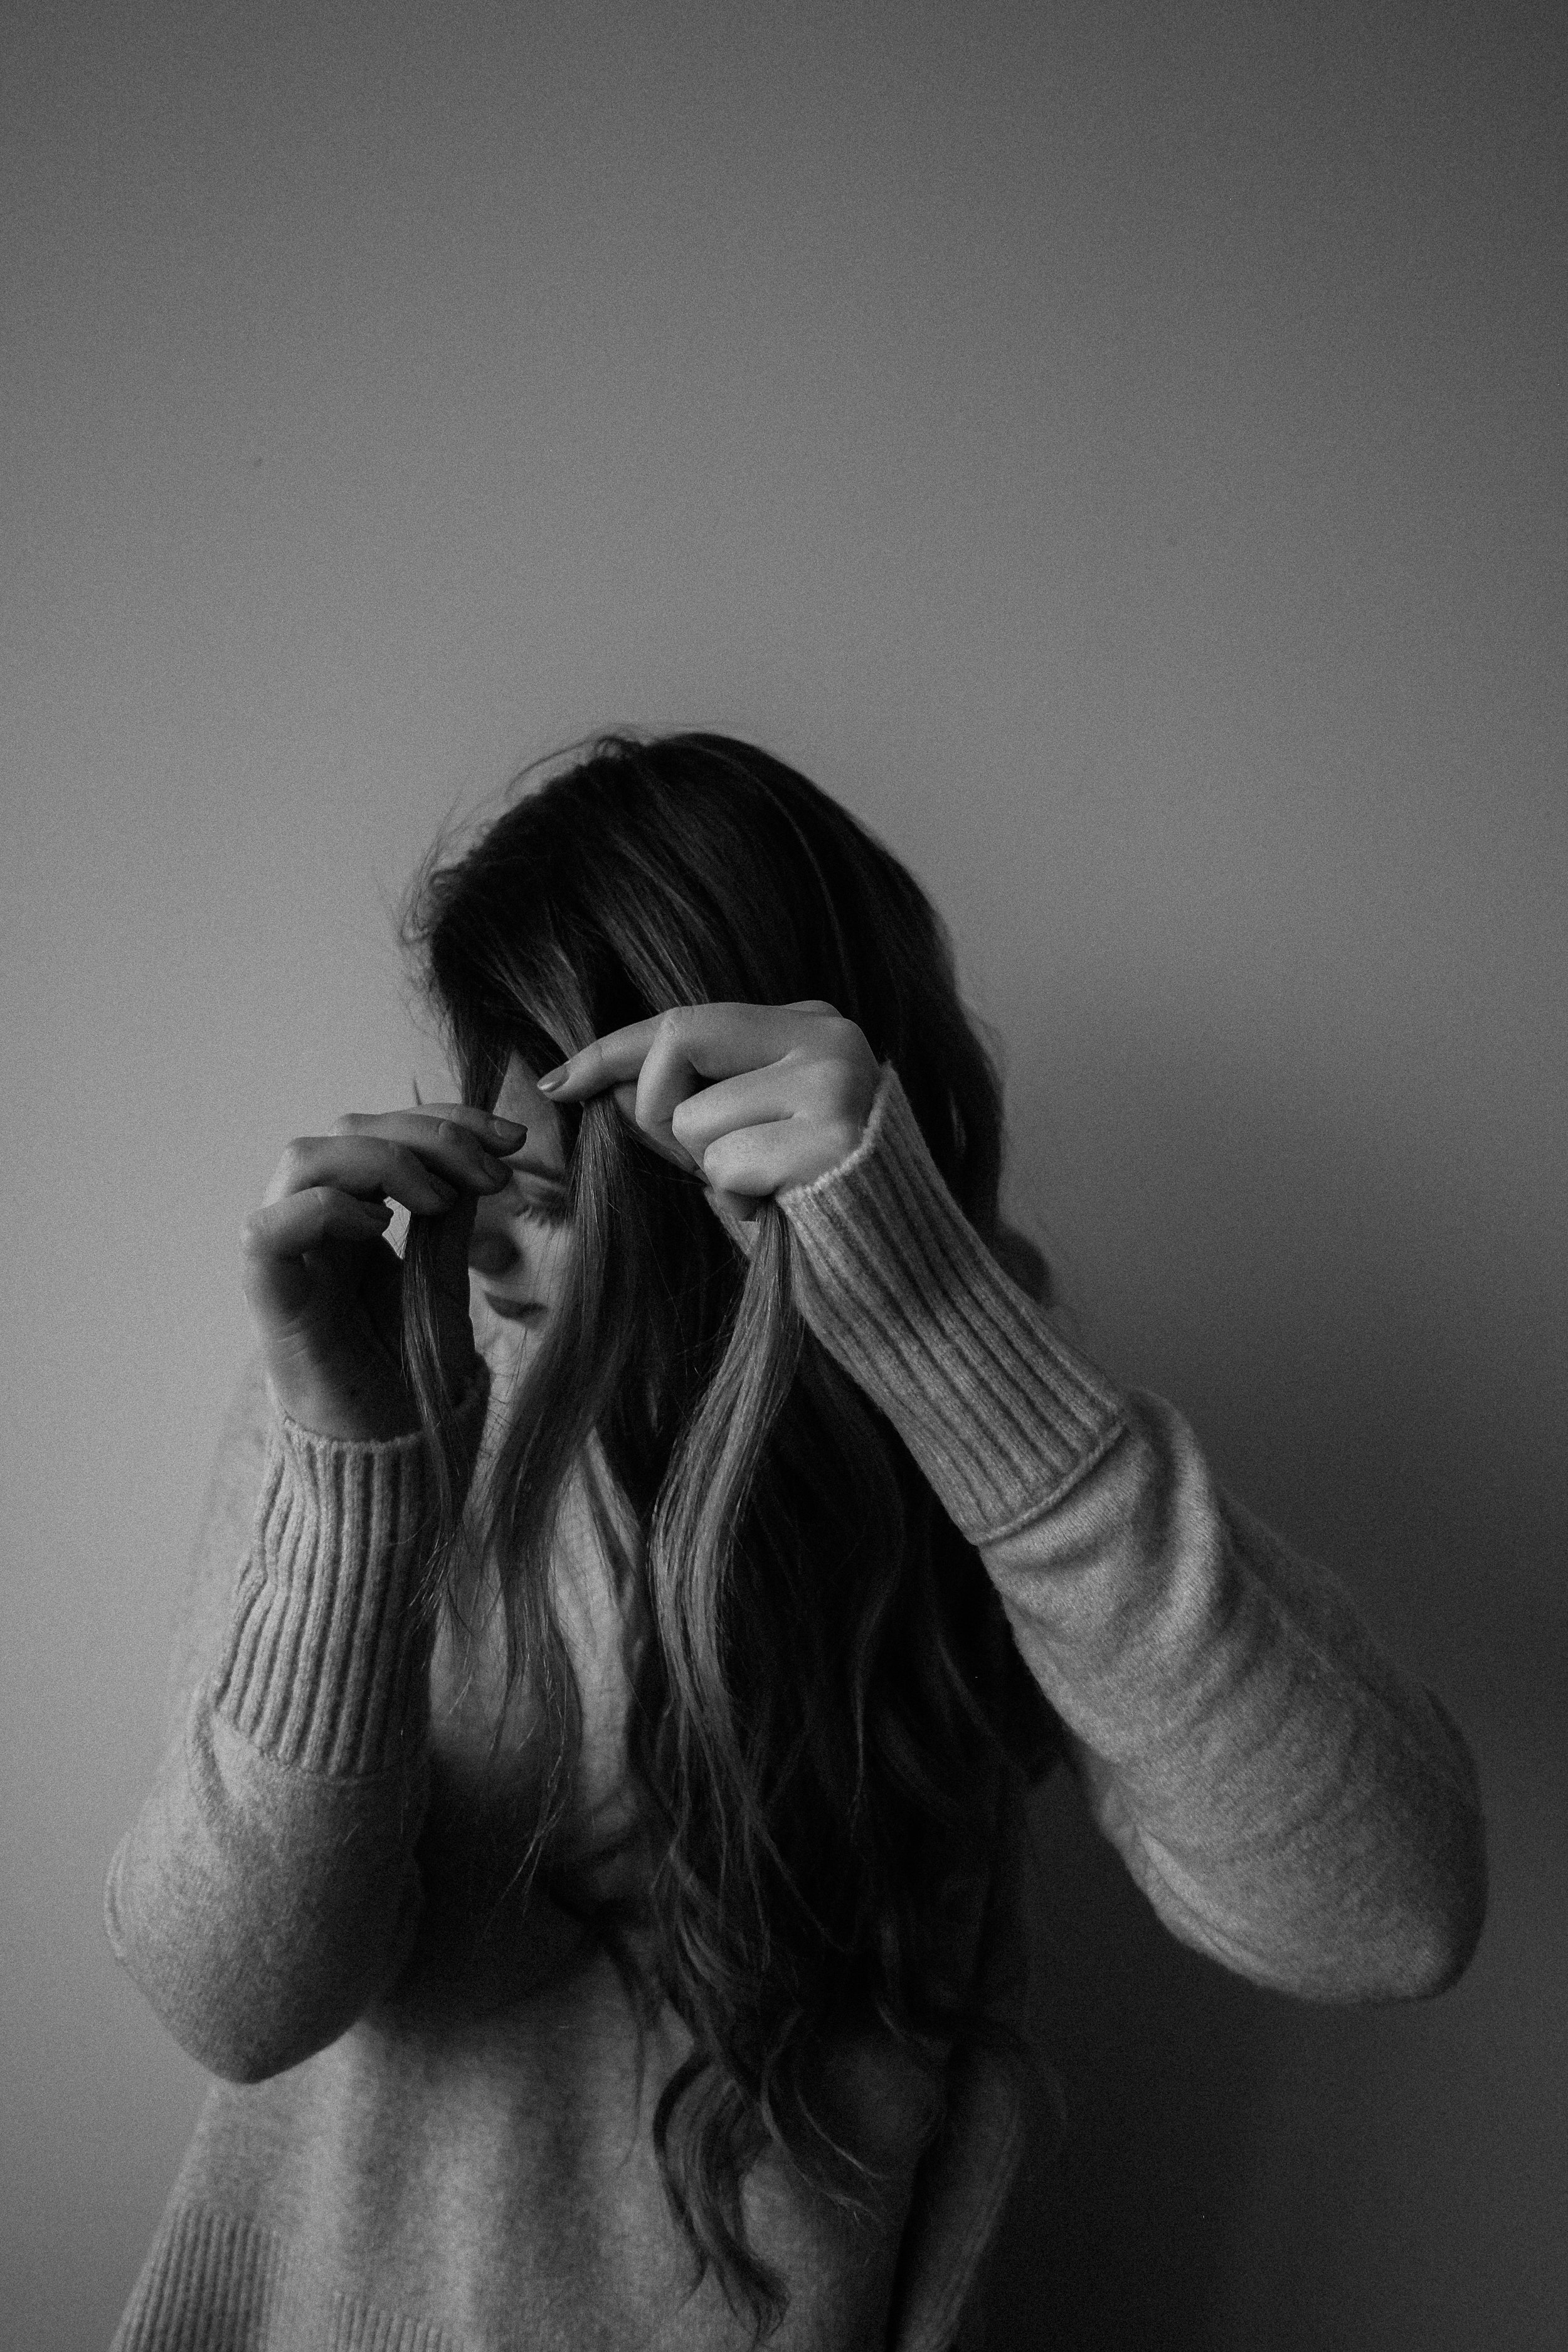
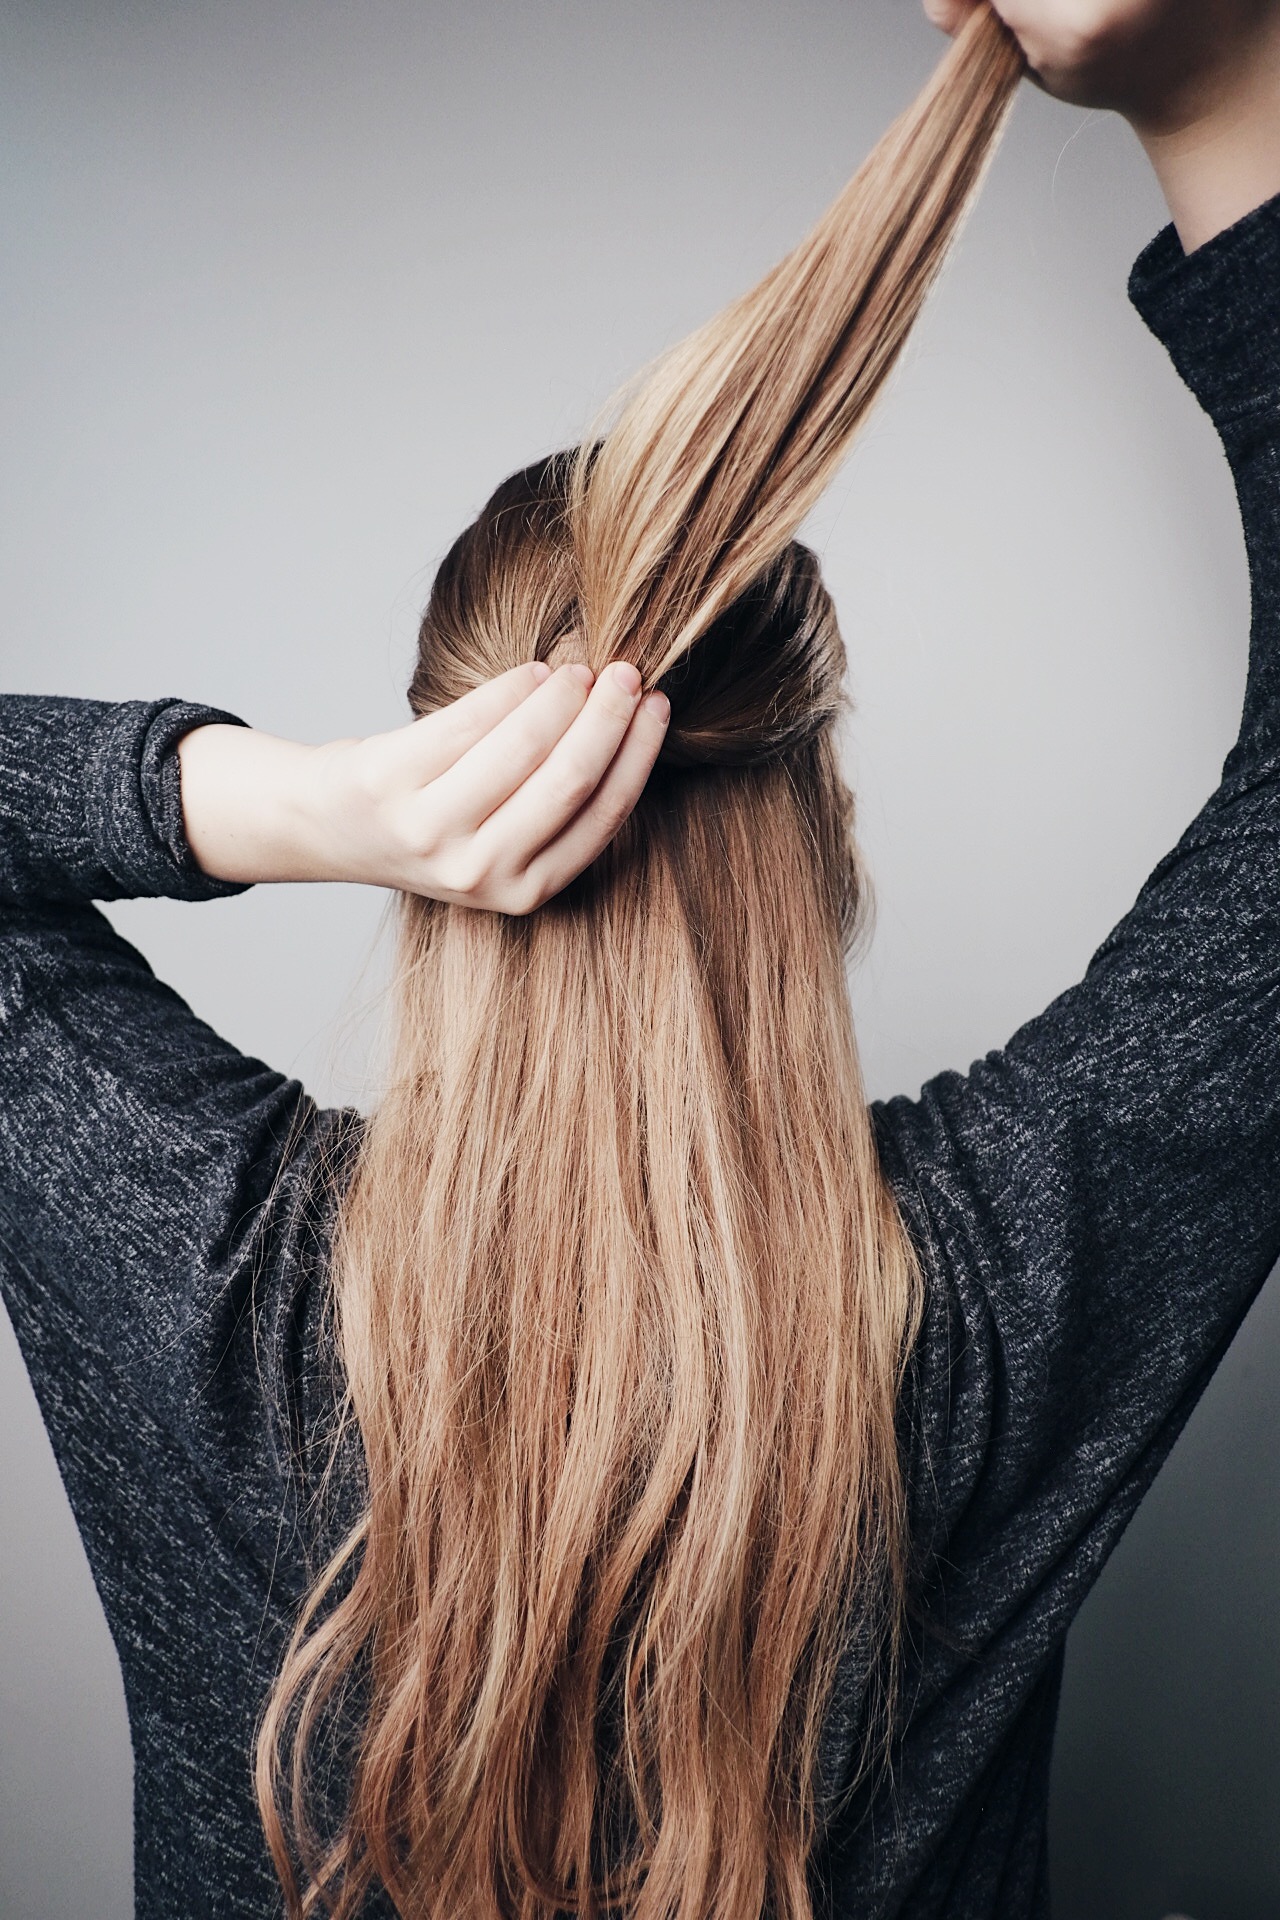
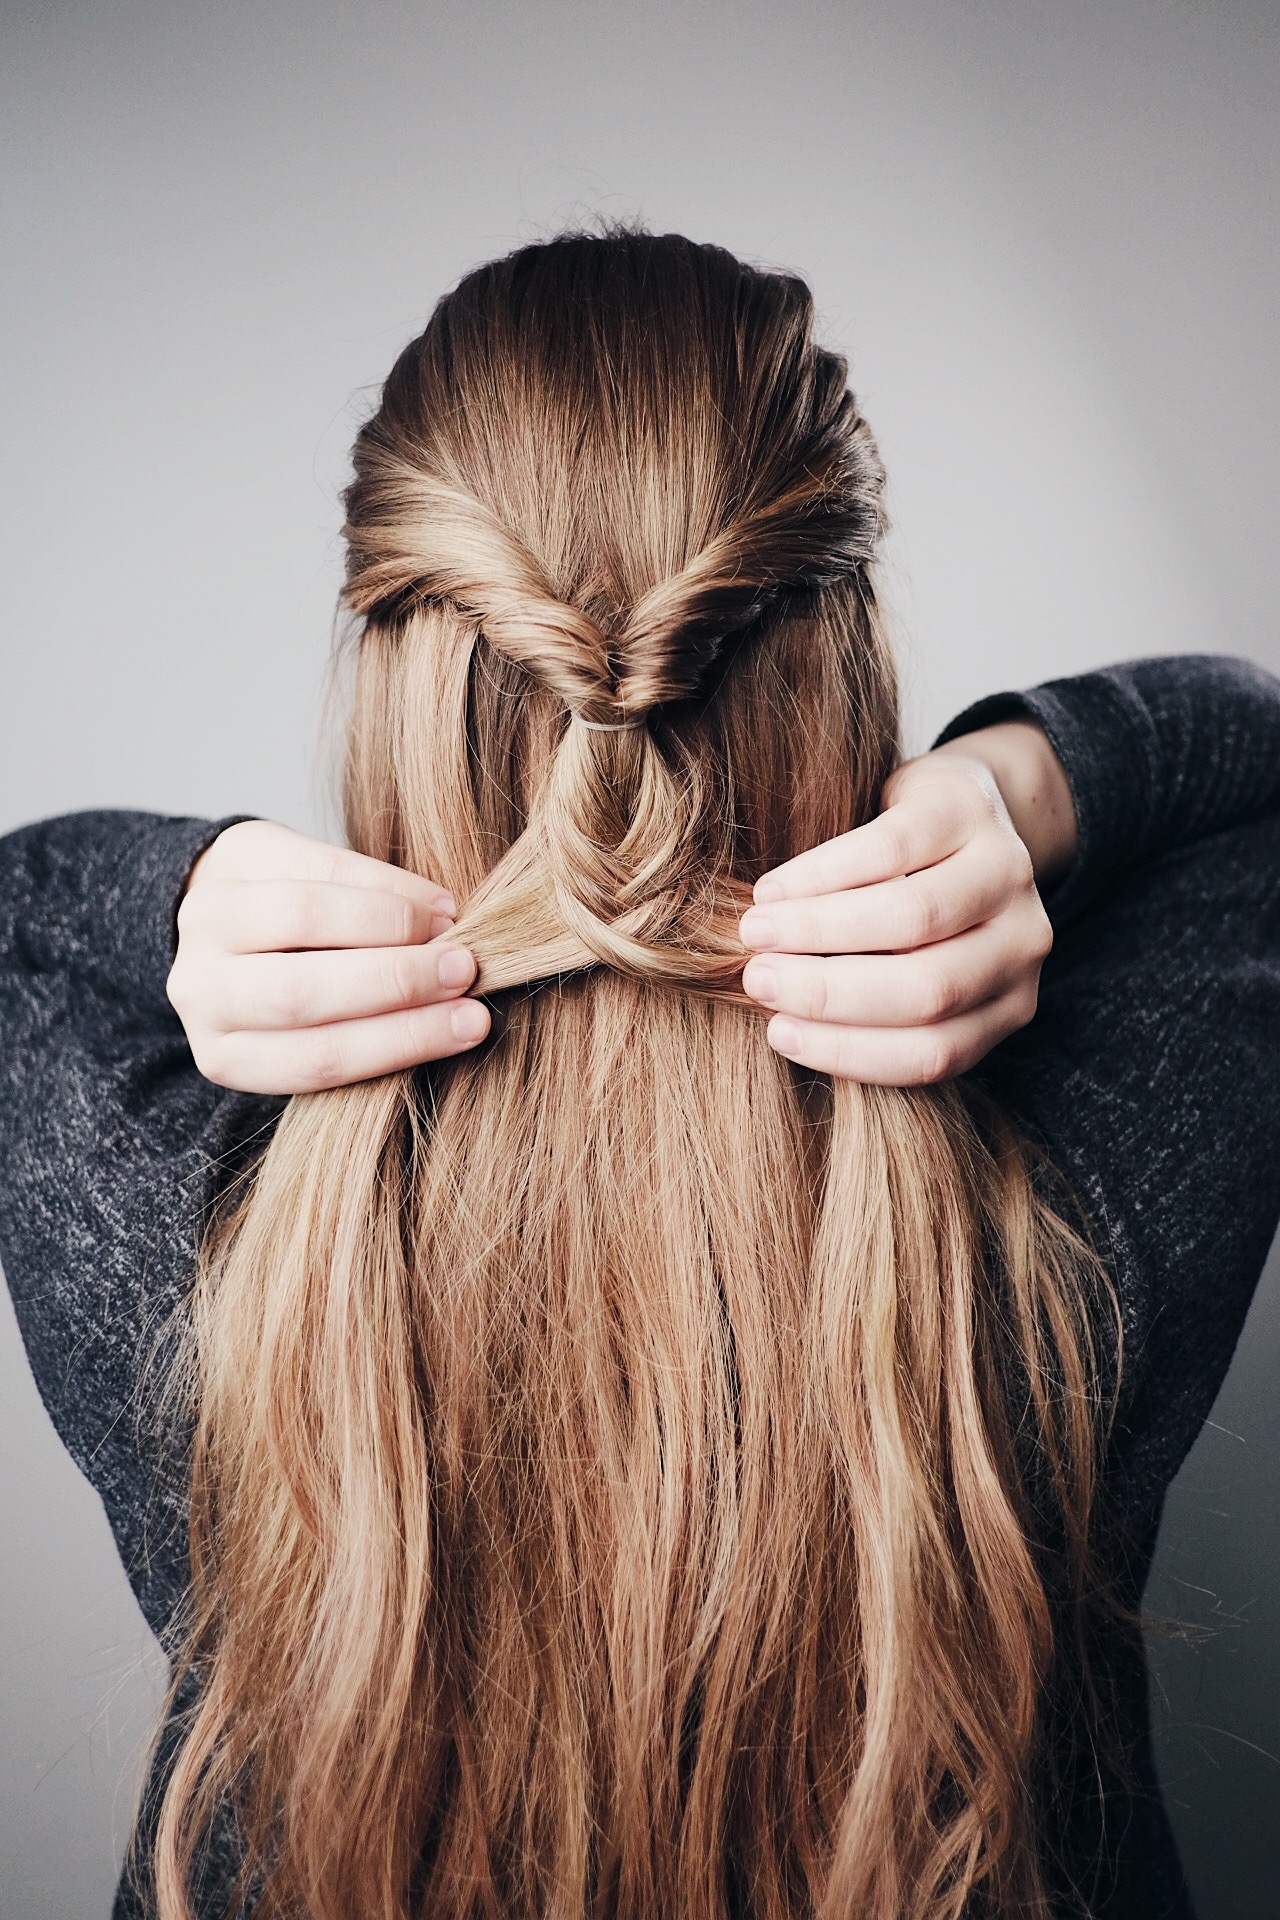
“1. Brush your hair out!
2. Spray your hair with Eva NYC texture spray
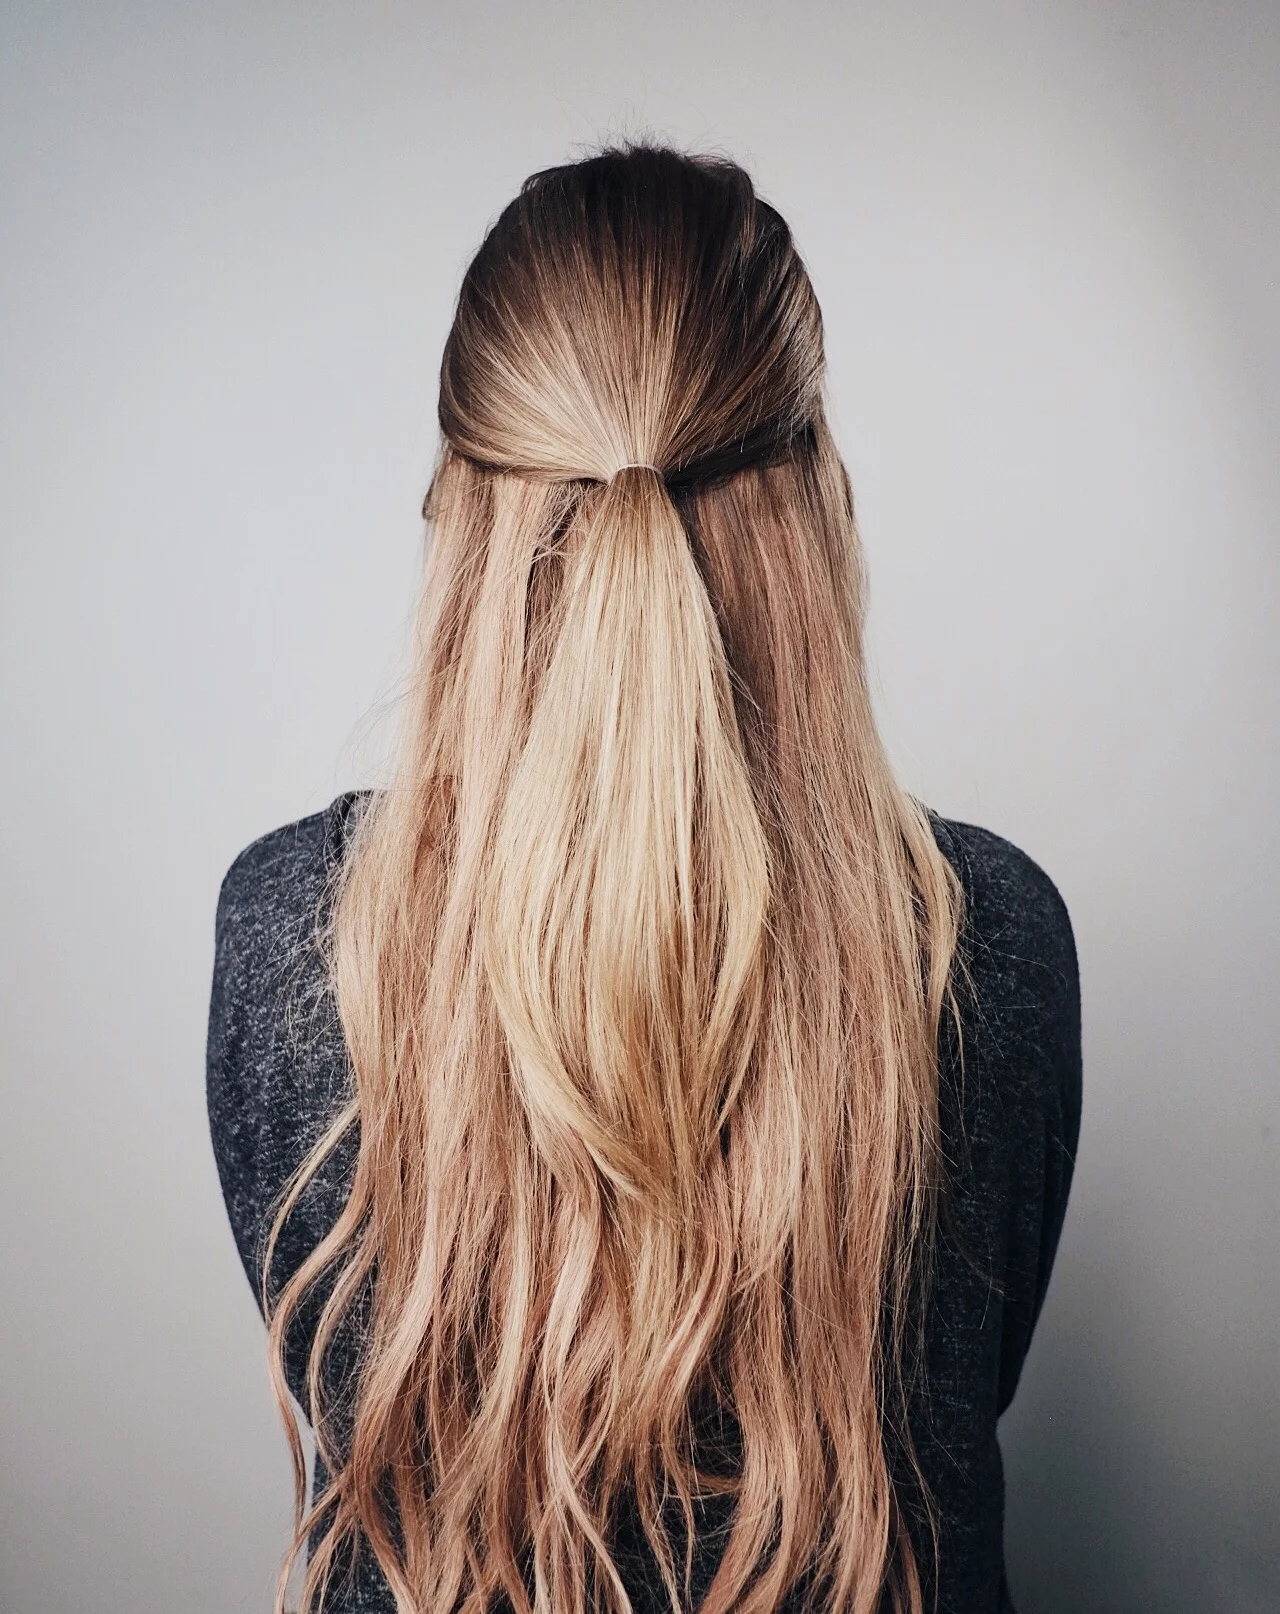
3. Pull the top half of your hair into a small pony tail (making sure there are no tangles) and secure it with a clear elastic.
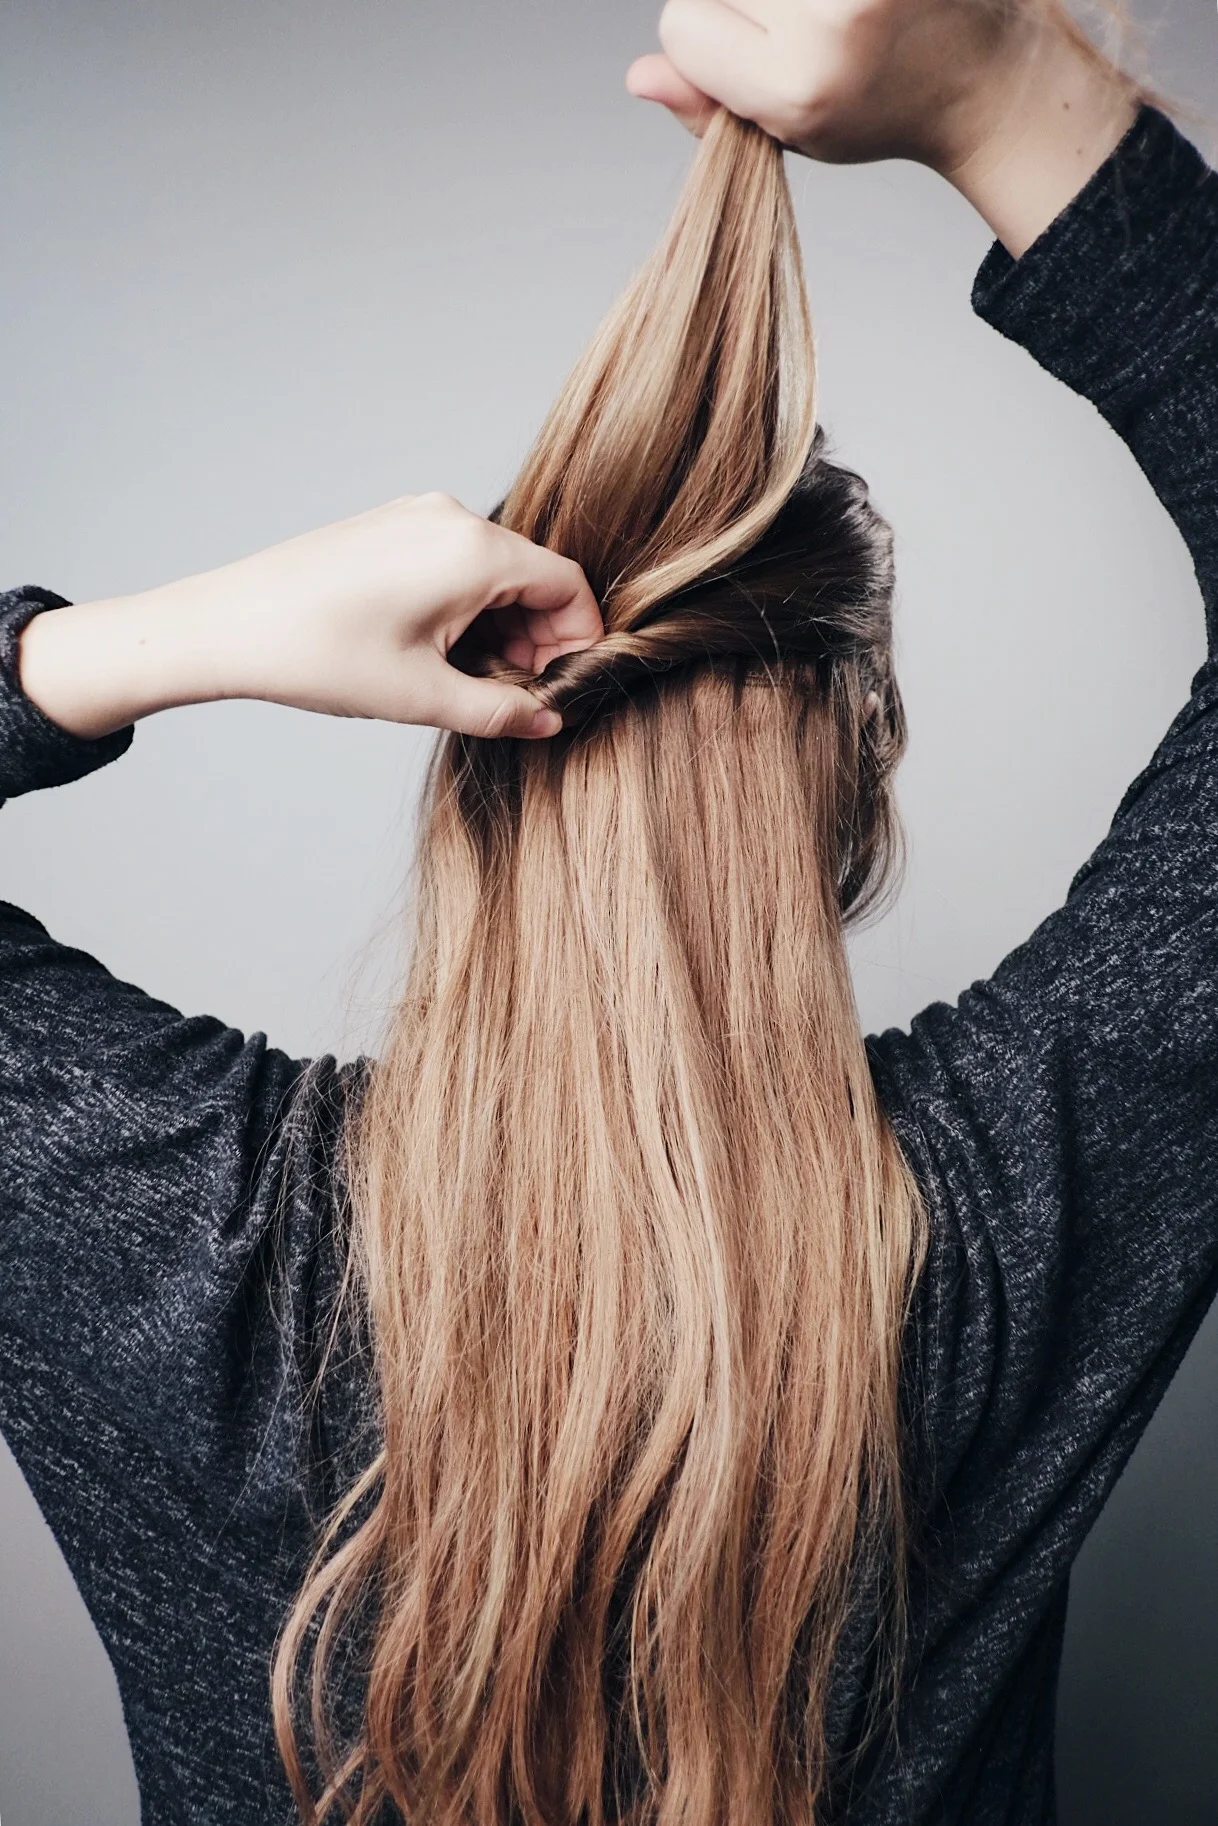
4. Above the clear elastic, with your fingers, pull the hair into two sections.
5. Flip the pony tail over and into that opening you made.
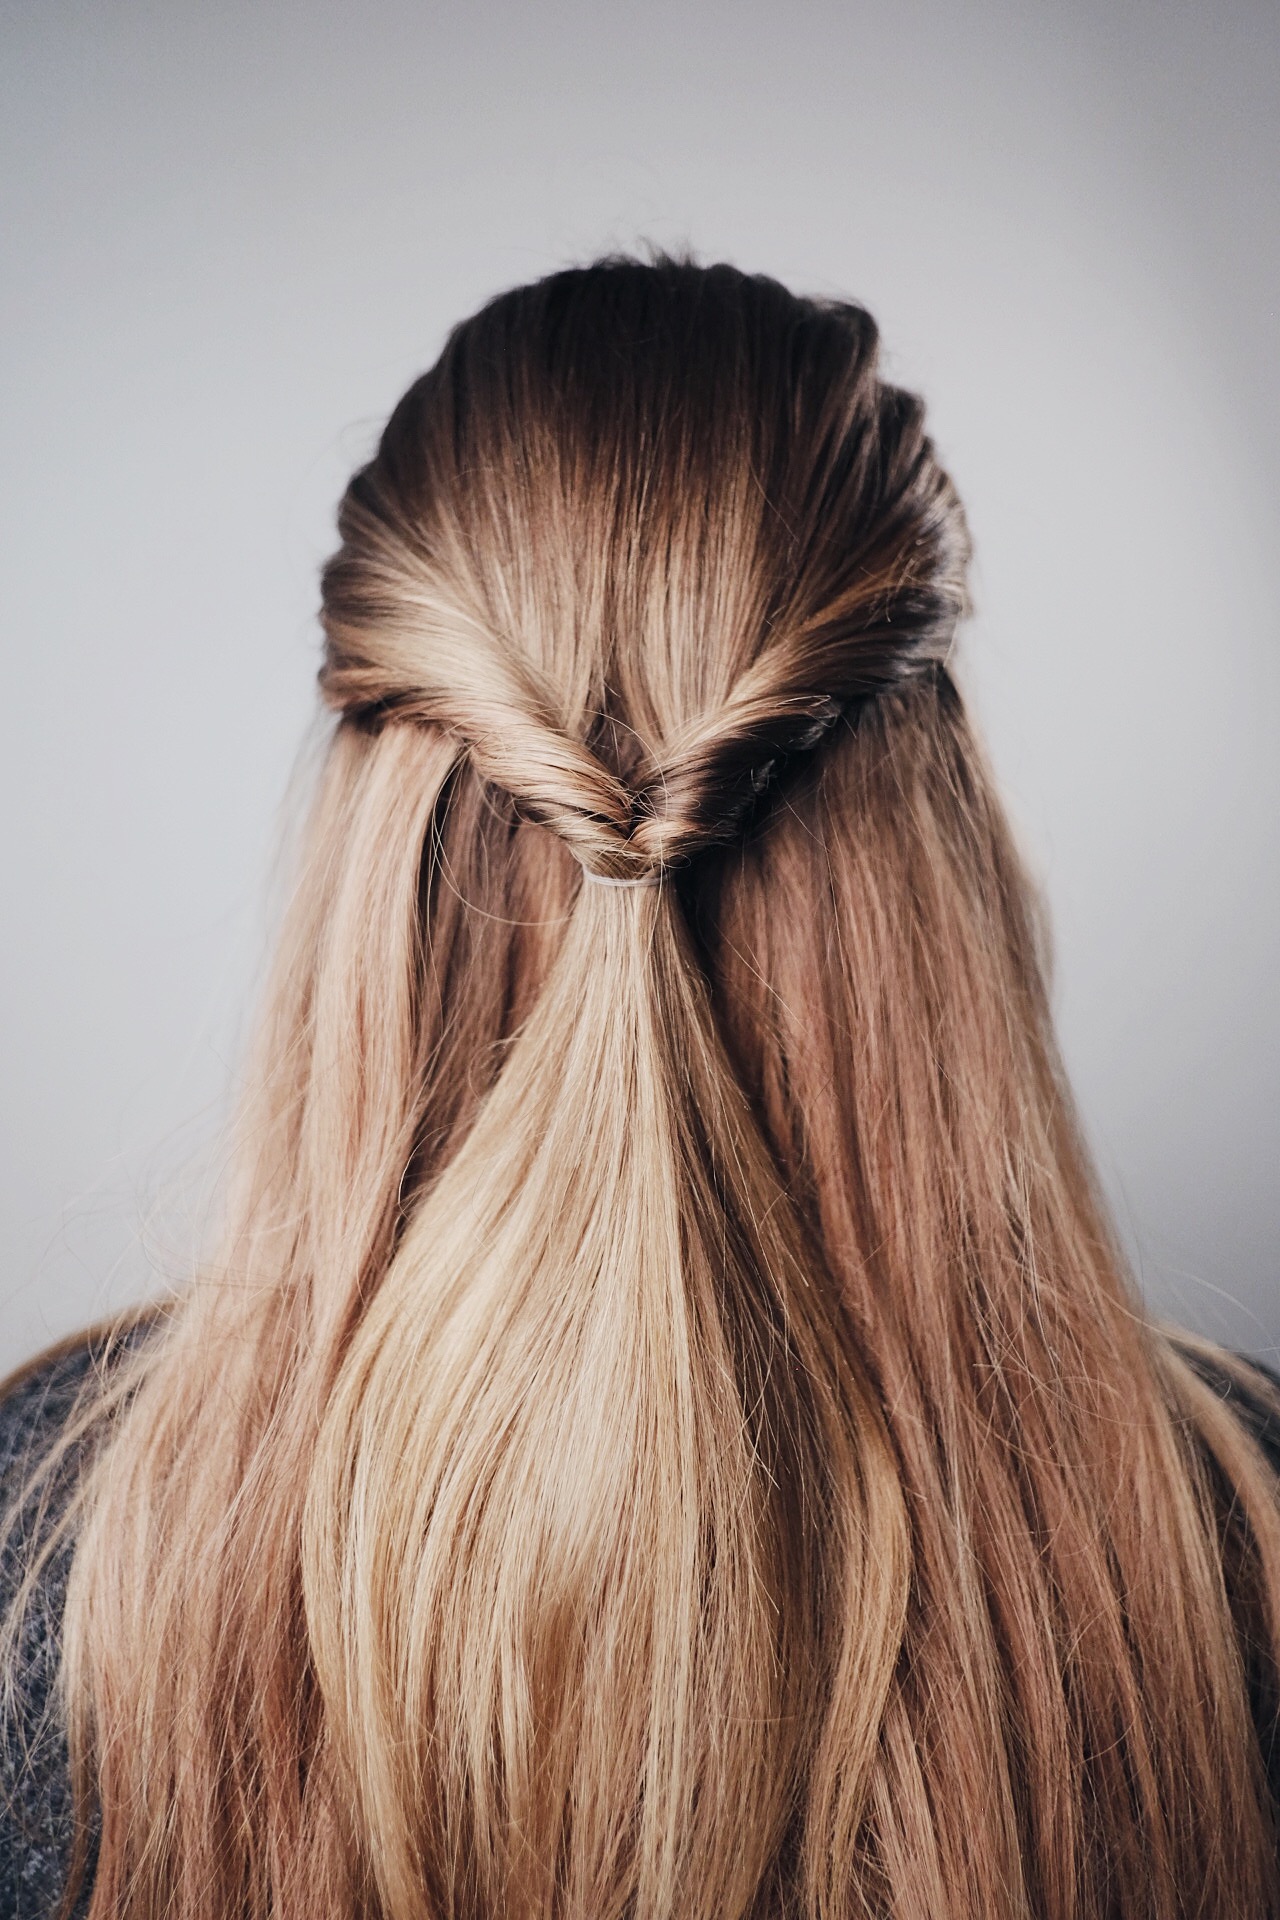
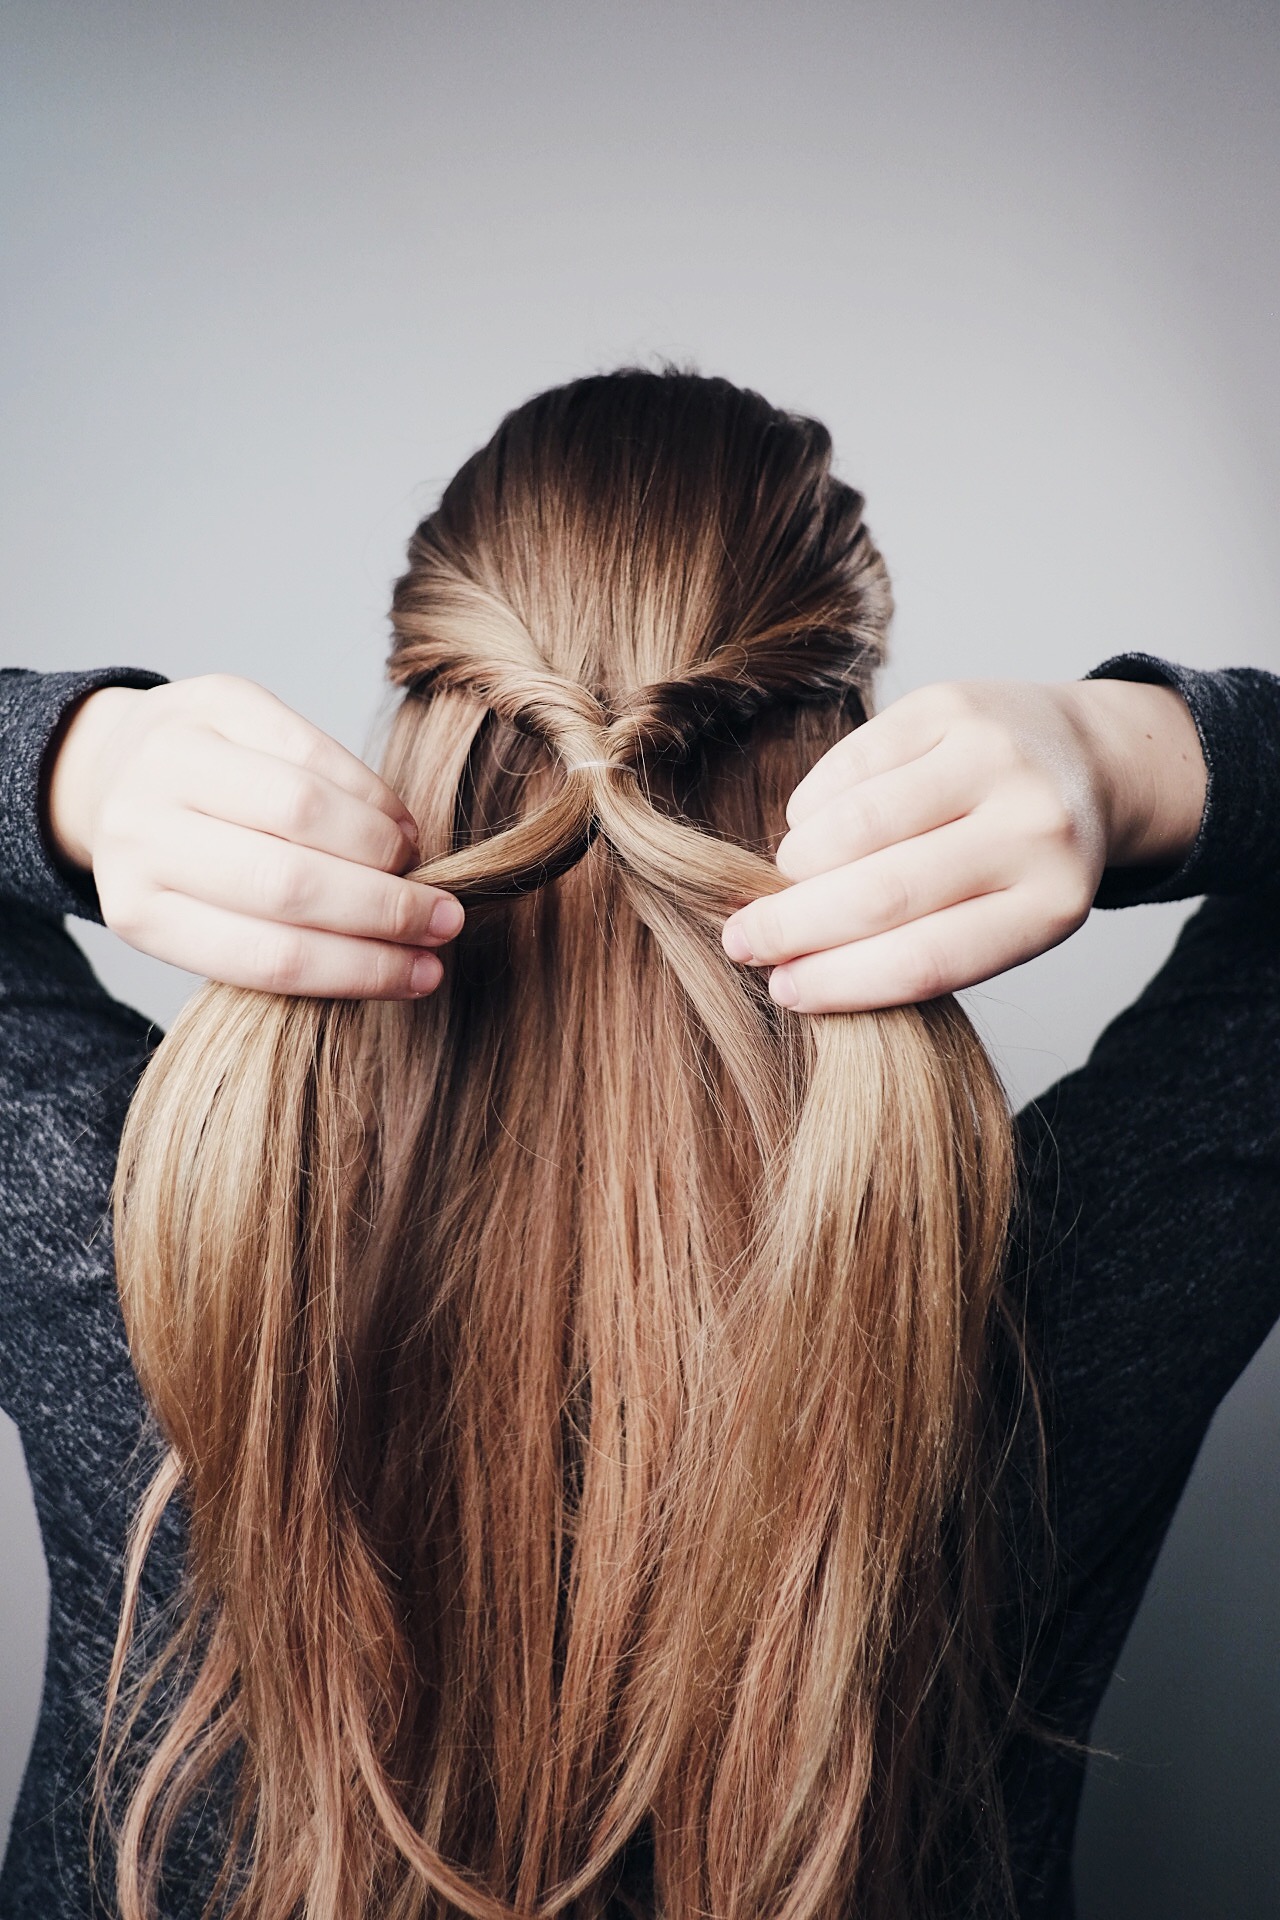
6.Tug on the two twists you just made to loosen them up!
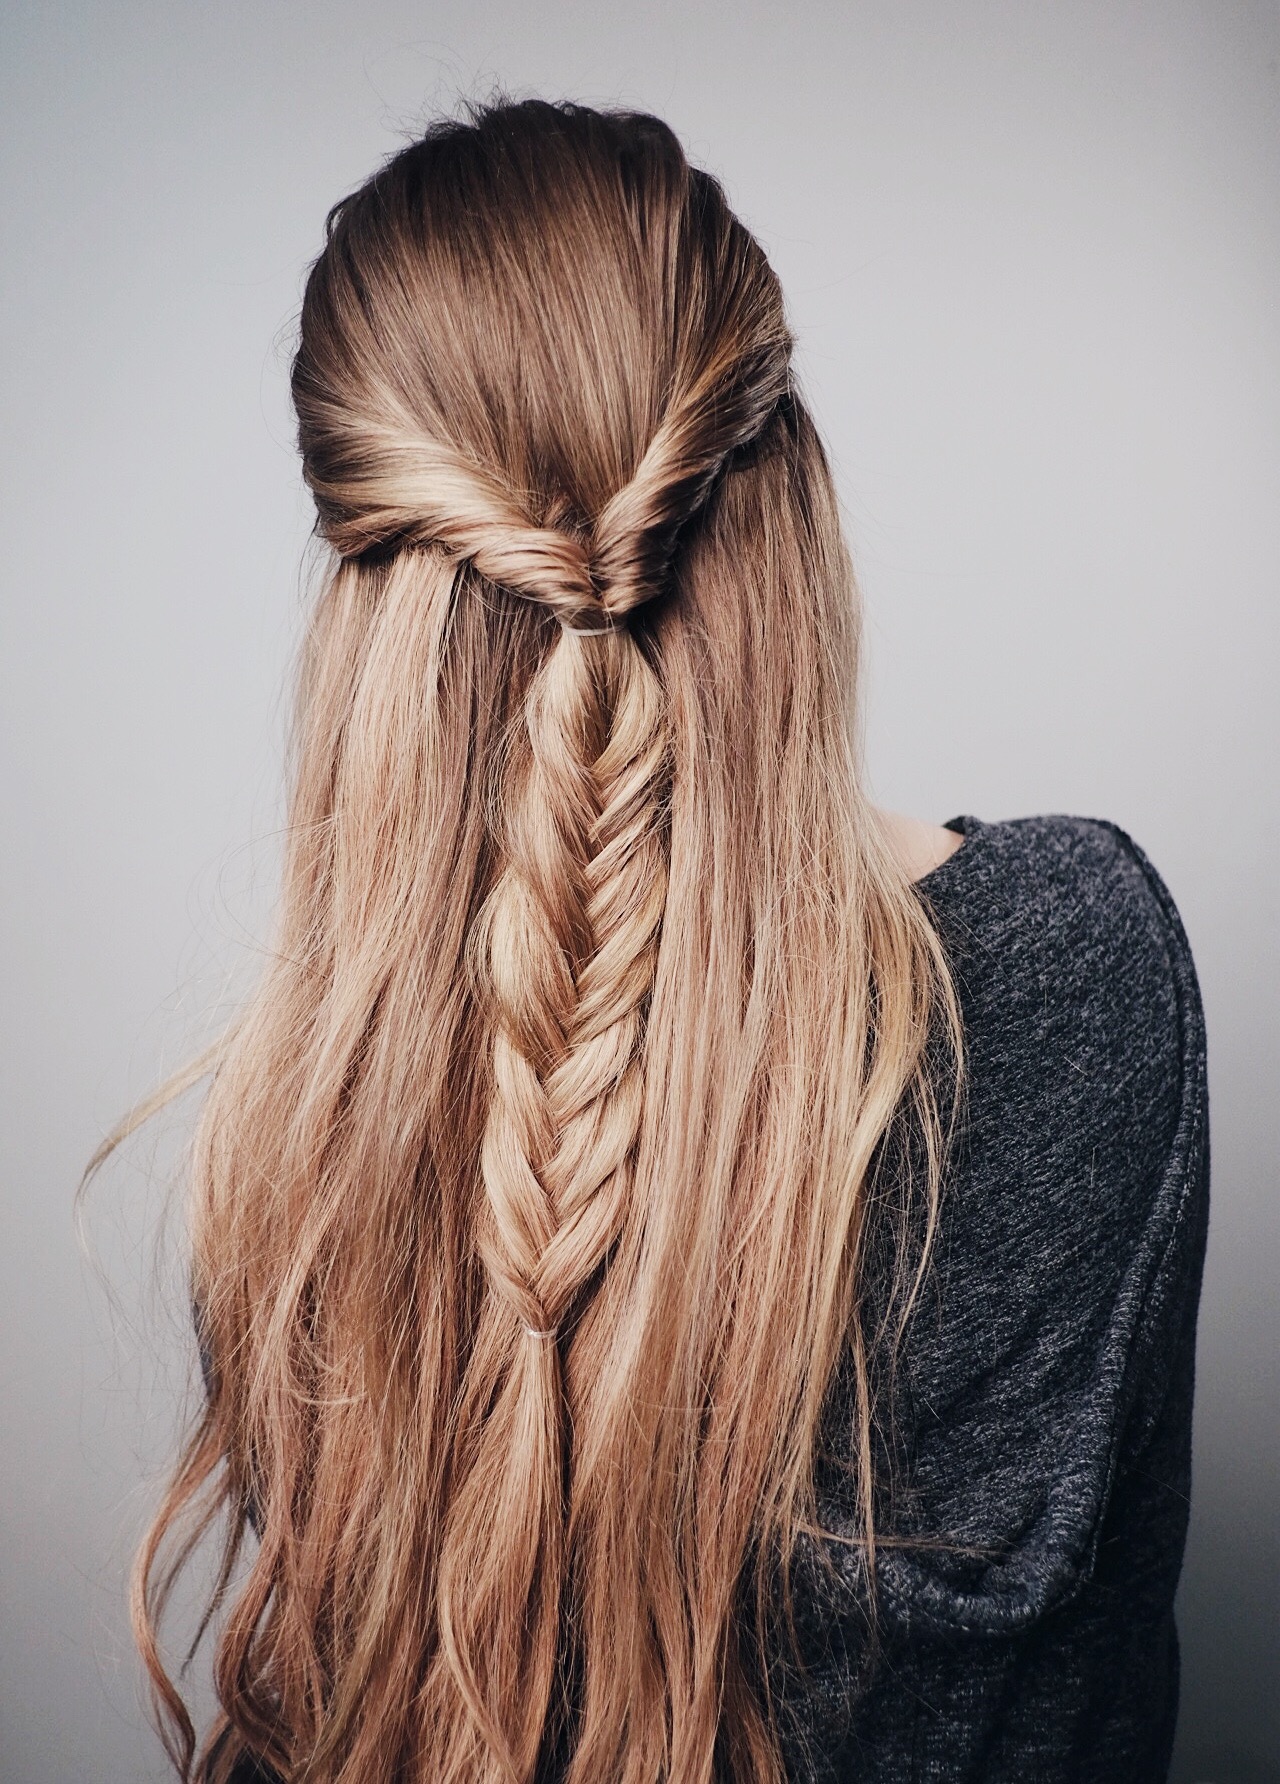
7. Spray a little bit more of that amazing texture spray into the ends of the pony.
8. Fishtail the pony! (2 sections, crossing little pieces from each side over to the other.
9. Pull it apart!
10. You have a twisted fishtail :)”
It's that simple!
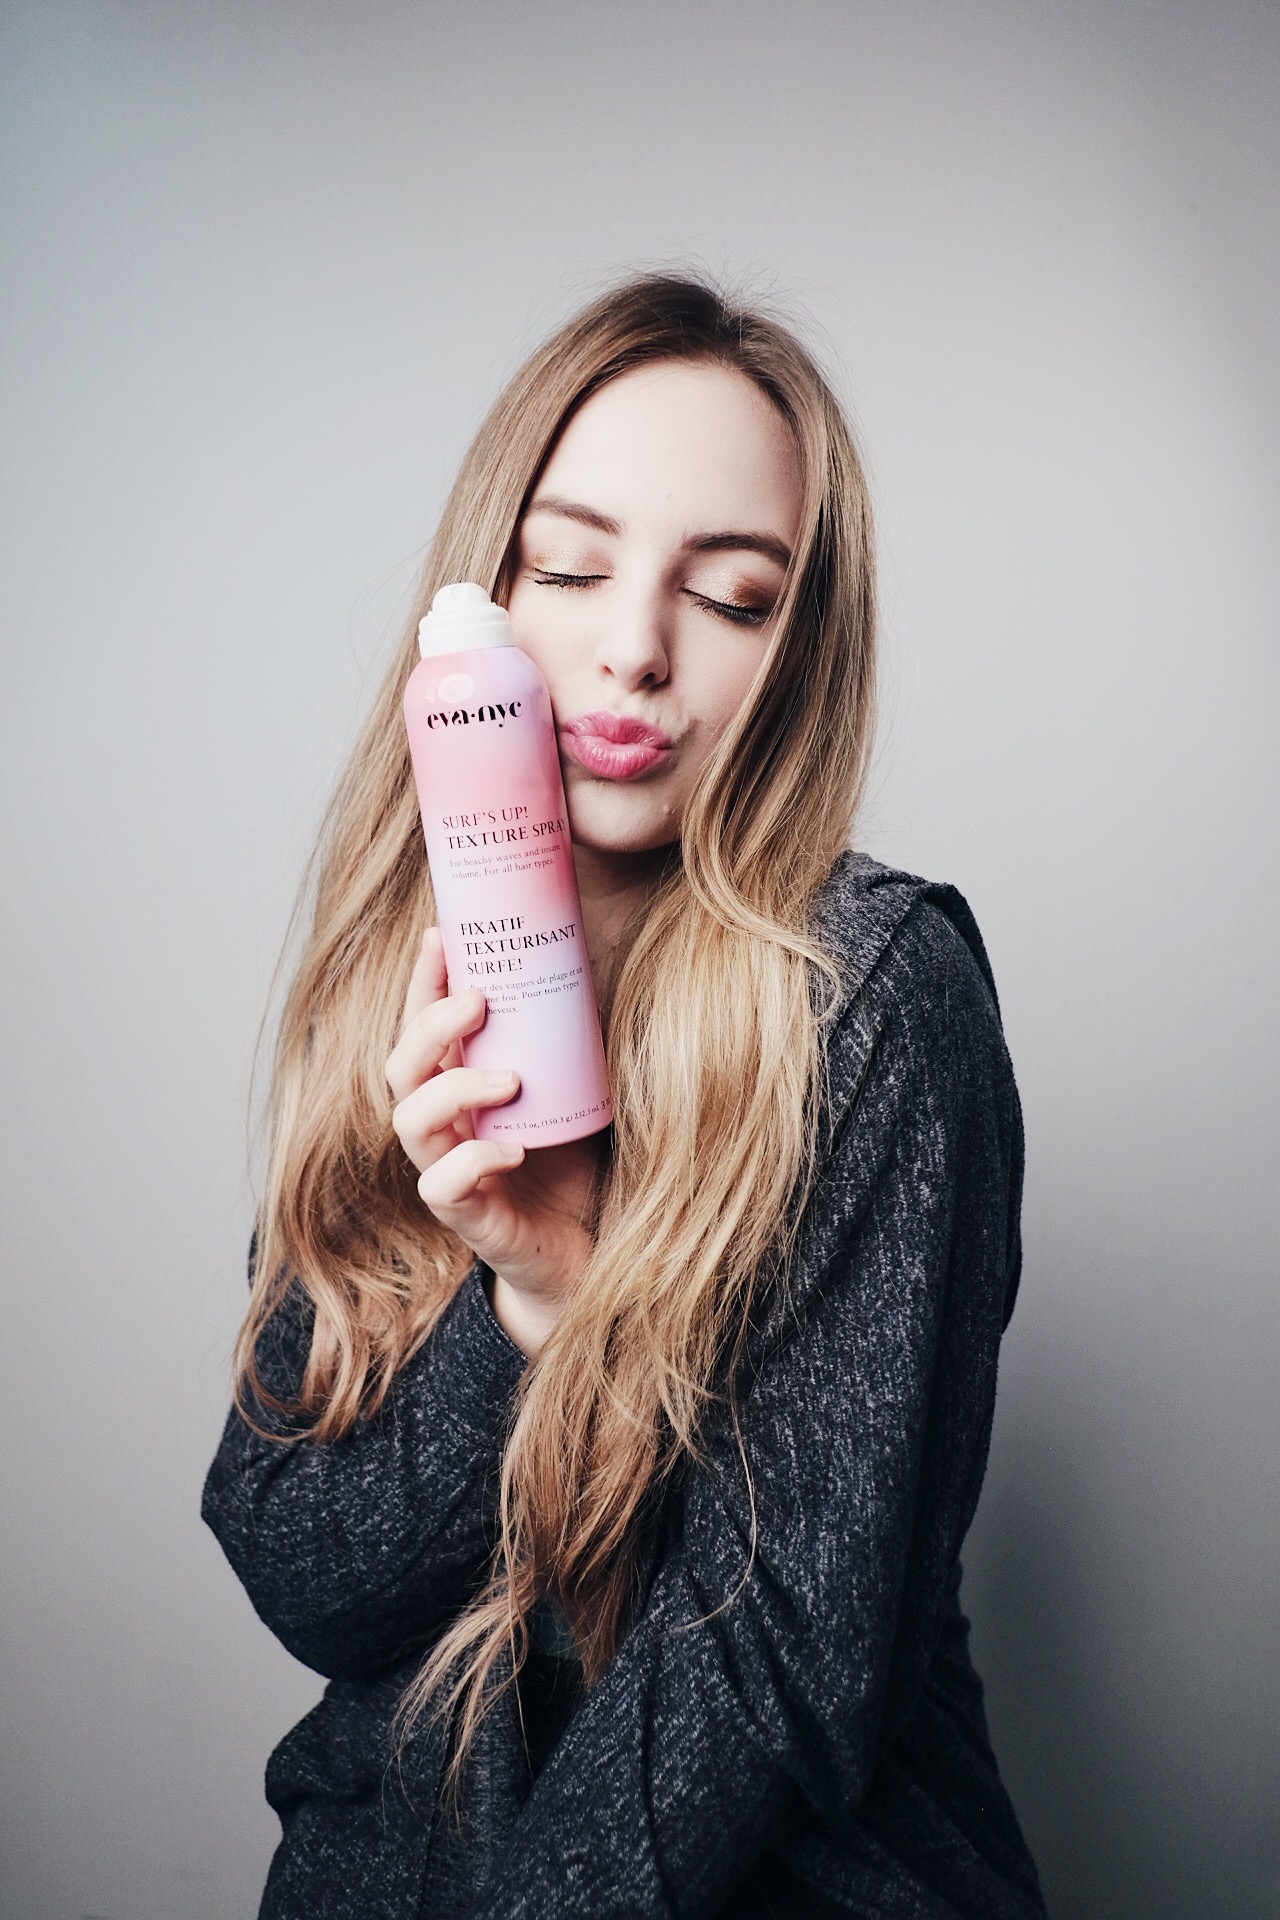
Thank you so much to Eva NYC for supplying me with this amazing texture spray! I truly couldn't do it without you.
xo,
Megan